11 April 2024
blog
Bun Runtime - Deploying an app using Bun with Cleavr (Part 3)
In our previous blog on the Bun Runtime series we briefly discussed setting up a Nuxt app using Bun.
In this part, we’ll be deploying the Nuxt app using Bun runtime with Cleavr.
First of all, let's head over to the Services page and install Bun runtime. To do so, navigate to the Server > Services page.
Now click on Install New Service, select Bun from available services, and click Install.

Once installation is completed, you can check the service’s heartbeat to verify its installation and status.

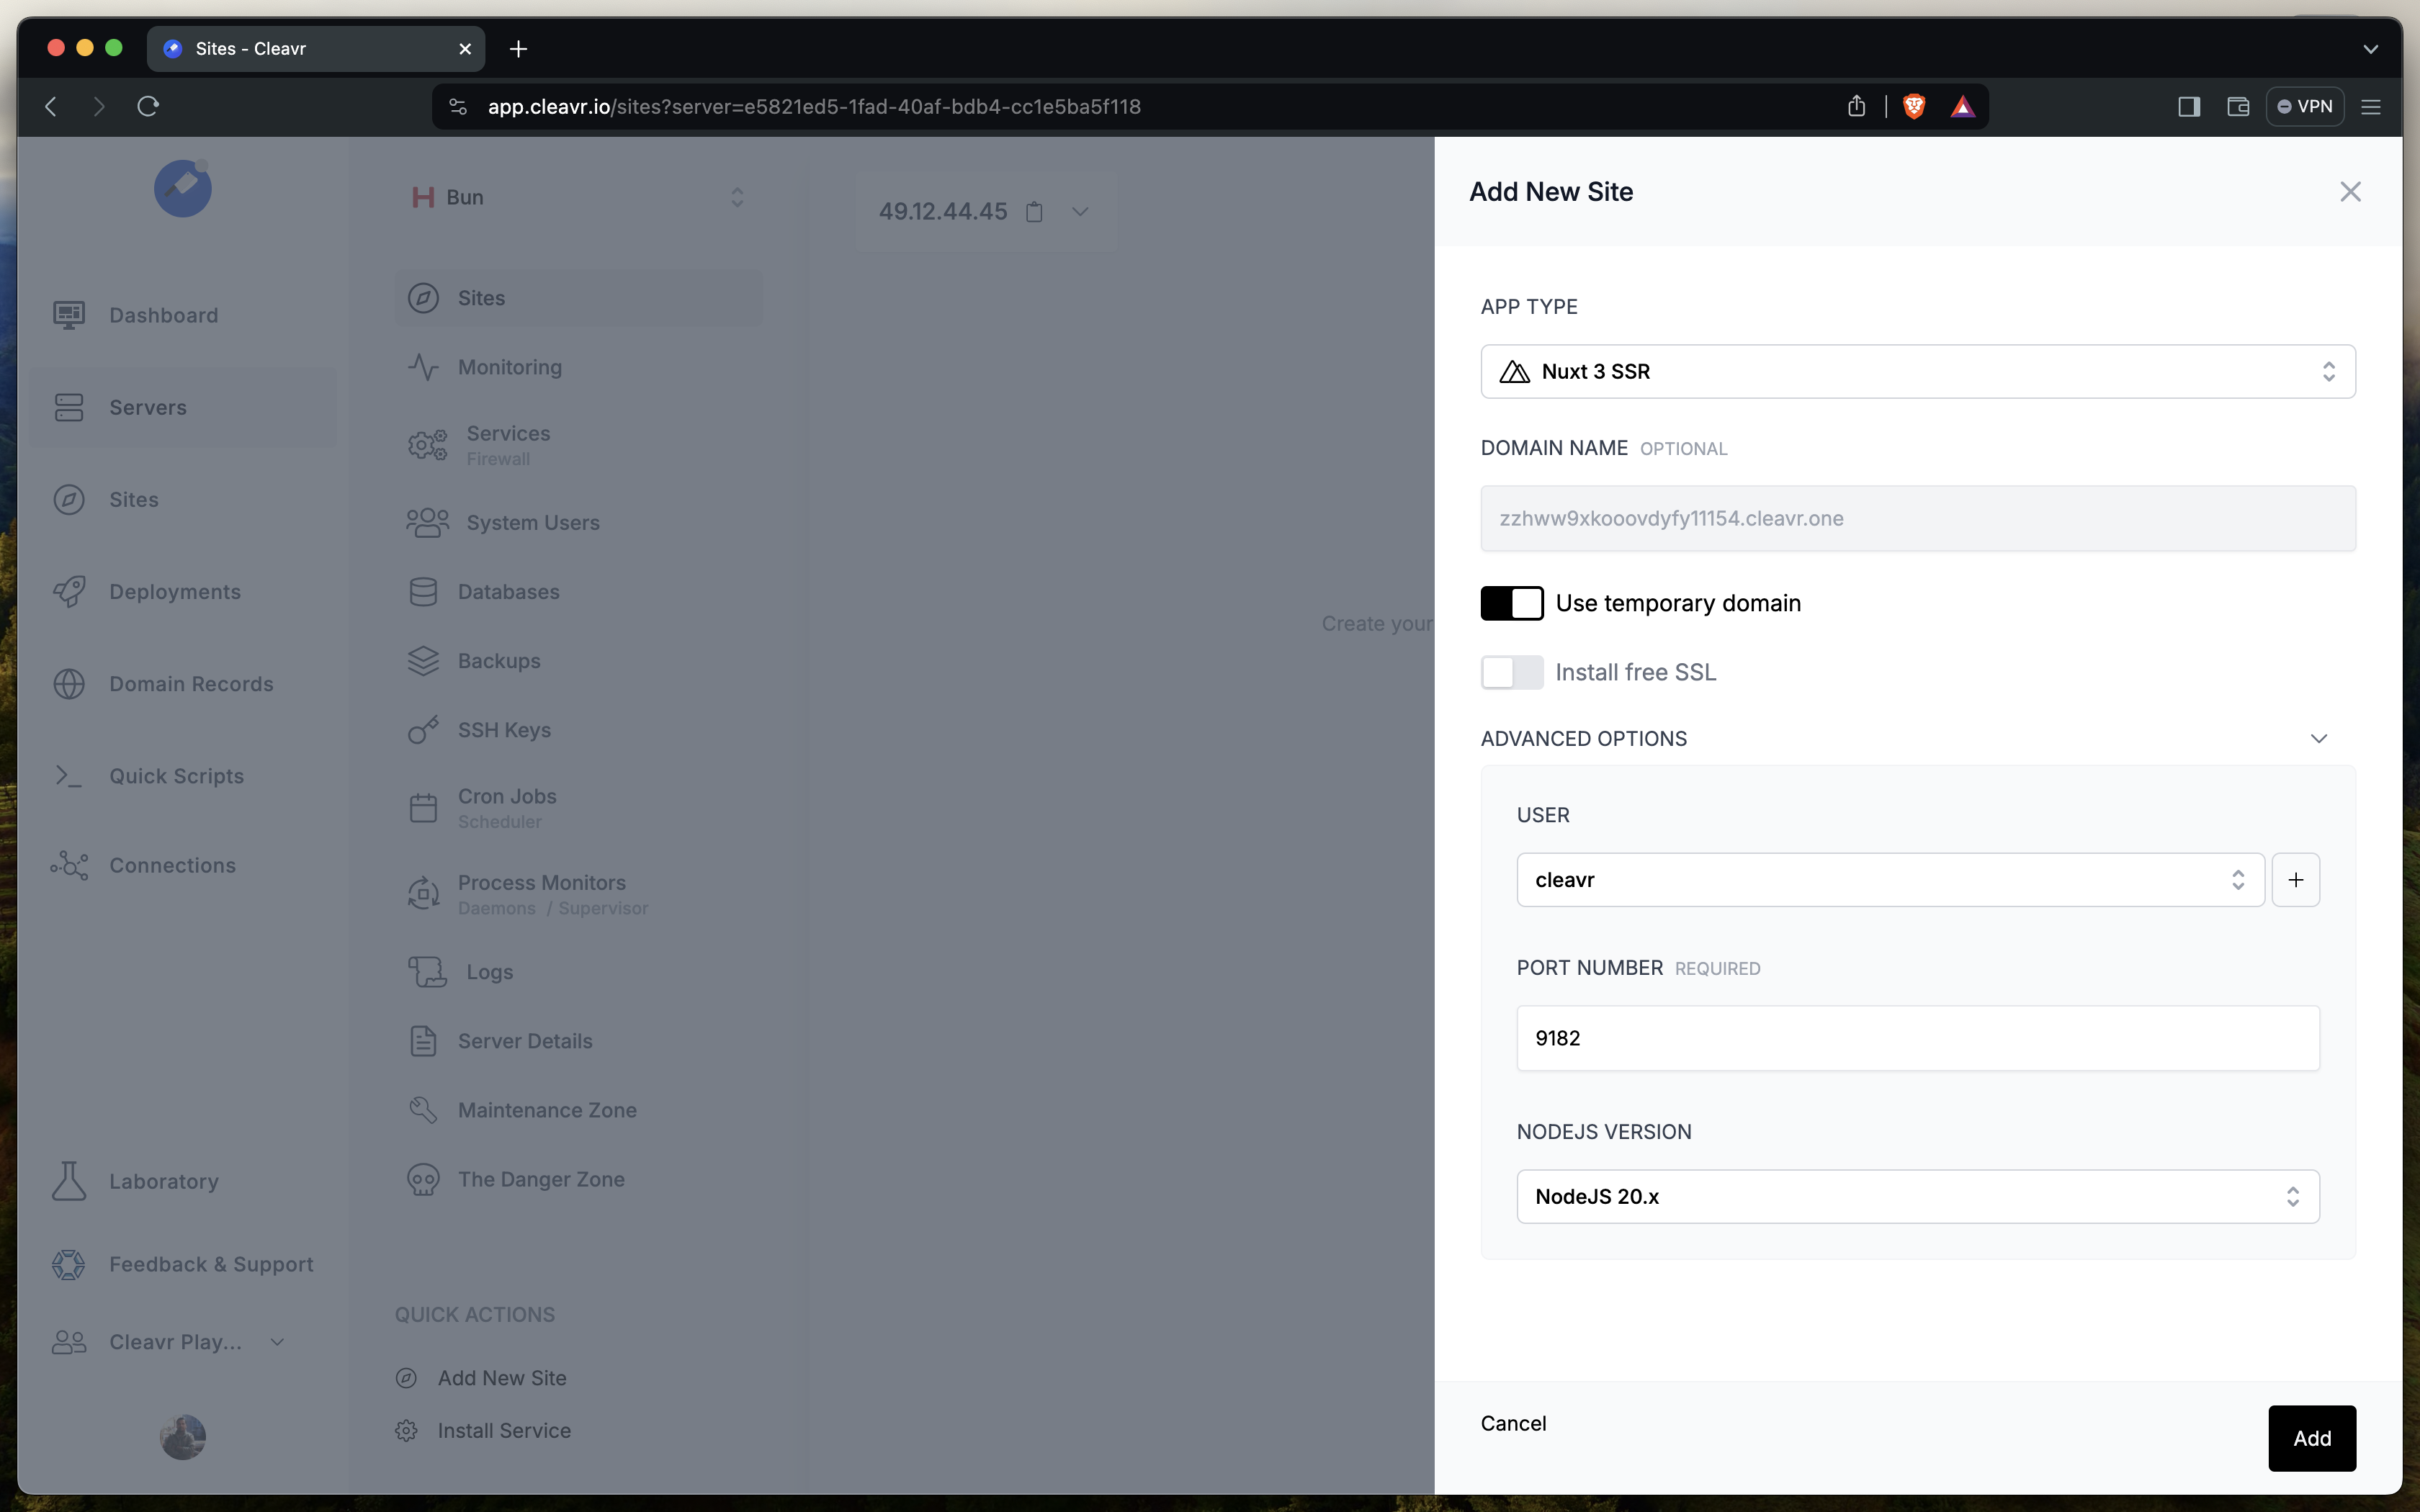
Once you’ve set up the runtime, you can now create a new Nuxt SSR site from the Server > Sites page.

During the site setup, you'll still need to choose a NodeJS version. This is necessary because during our initial testing, Bun wasn't fully compatible with all of the application types supported by Cleavr.
As Bun matures and becomes compatible with all other application types in the future, we'll streamline this process for easier selection.
Once the site setup completes, head over to the Deployments > Deployment Workflow > Settings and configure the repo and build settings.
I’ve configured the Nuxt project which is available on this repo
I’ll be updating the build command to bun run --bun build --production instead of npm run build –production.

We also need to make some adjustments with our PM2 Ecosystem to use Bun with PM2. So head over to the PM2 Ecosystem page and add interpreter: "/usr/local/bin/bun" to the config.

Now, move to the Recent Deployments page and click on Deploy to deploy your Nuxt project with Bun runtime.
Cleavr will look for the presence of bun.lockb file while running the deployment and run bun install instead of npm/yarn install automatically.

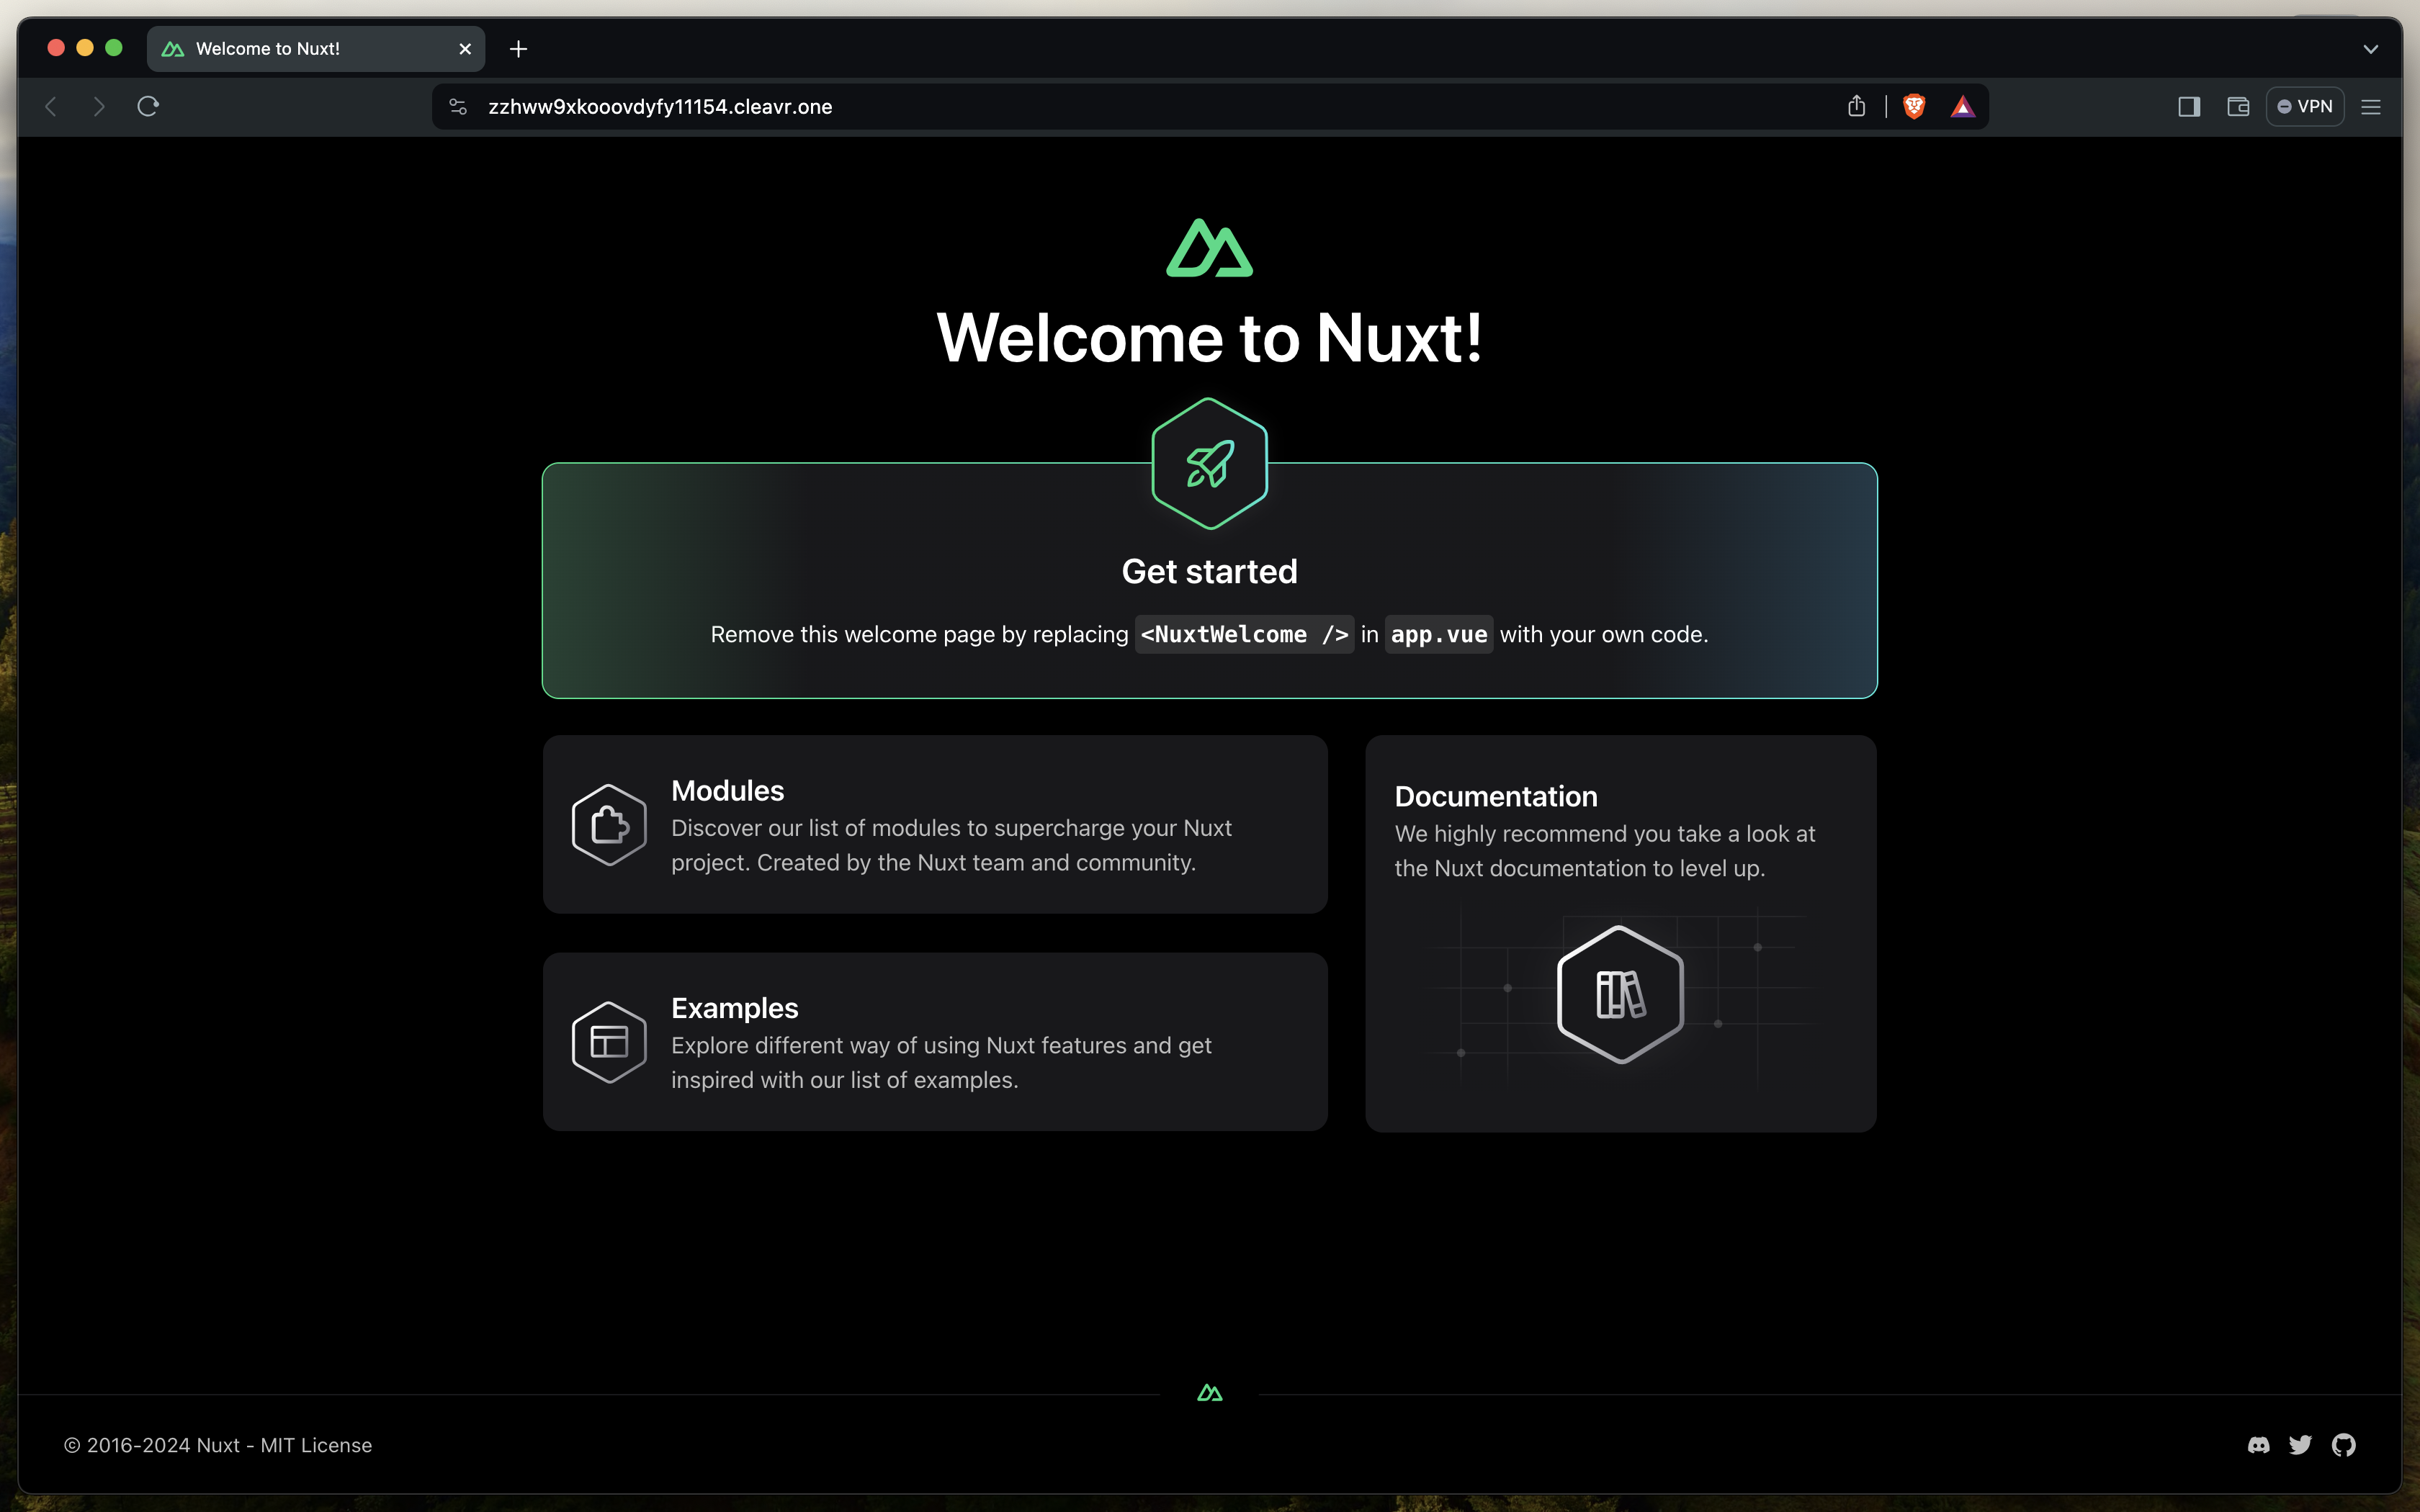
That's it! Your Nuxt app should now be up and running using Bun. This marks the end of the Bun runtime blog series.

I hope the blog will be helpful to anyone that is trying to deploy their JavaScript/TypeScript projects using Bun.
Take control of your servers and deployments.Without breaking a sweat.
Sign up for a 5-day free trial of Cleavr Pro. No credit card required until you decide to subscribe.
Sign up for freeCleavr
© 2025 Vistafari LLC. All rights reserved.
❤️ ☕️ 🎨
