29 February 2024
adonis
how-to
How to deploy your Adonis v6 apps
Adonis v6 is now out in the wild and is a fantastic major enhancement to the Adonis framework. From incorporating Vite, to new framework agnostic packages, to simplified testing, Adonis v6 keeps you productive. Learn more about what Adonis v6 has to offer here.
Cleavr has been a proud sponsor of Adonis since 2020. So, naturally we have first-class support for deploying your Adonis v6 applications!
In this blog post, we'll walk through creating a simple starter app on your local machine to deploying it out on your very own server.
Step 1 - Create a new project
Getting started is easy. Just open up a terminal and run the following command:
npm init adonisjs@latest hello-world
Adonis v6 will require Node version 20.6 or higher.
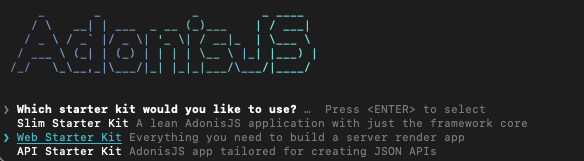
This will take you through a short setup wizard to install your project. In this example, we're selecting the "Web Starter Kit" option.
After installation is complete, you'll just need to enter the directory and run your dev environment.
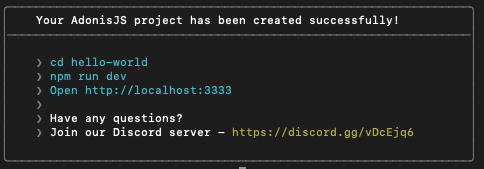
After running dev, you can open a browser, check http://localhost:3333 and see Vite in action, hot reloading your front-end updates. 🔥
Check out Adonis v6 documentation for additional 'Getting Started' tips
Step 2 - Add to Git Repo
Push your code to your favorite Git Repository.
Once you get your project to the point where you want to deploy it out to a Cleavr-managed server, check in changes and head over to Cleavr.io.
Step 3 - Add new Adonis v6 Site in Cleavr
Assuming you've already provisioned a server with Cleavr, the next step is to add a new "Adonis v6" site to the server.
If your project uses a database, be sure to include database setup during site creation so you don't have to worry about it later. All you have to do is click a couple of buttons and Cleavr will setup the database environment connections for you.
If you are setting up a MySQL or Postgres database, ensure your Adonis v6 project properly has it configured in the config/database section. The default is SQLite.
Step 4 - Connect to your Git Repo and configure
After adding your new site, click on the link to setup the Deployment Worfklow. Here, you will let Cleavr know where your project is on GitHub, GitLab, or Bitbucket.
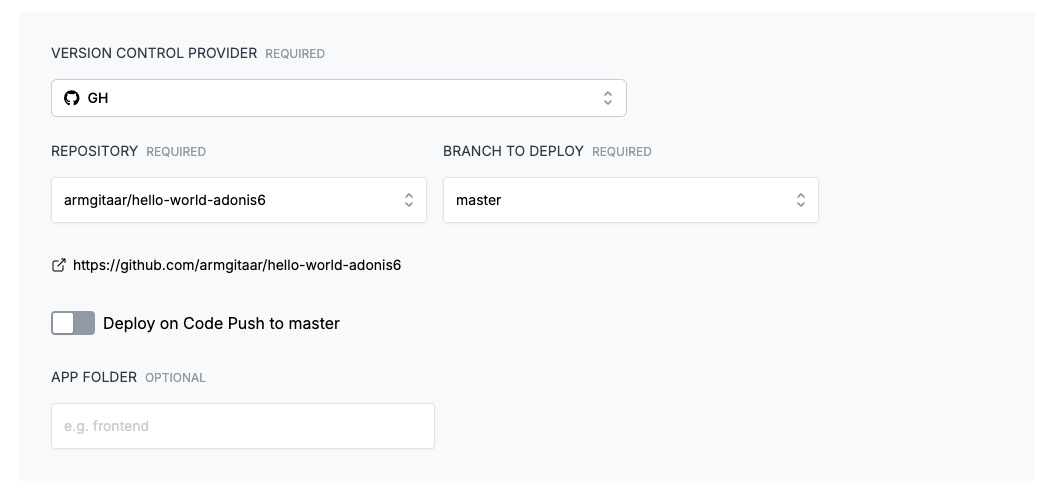
Once you've selected the repository and branch for your project, click on Update.
Step 5 - Deploy! 🚀
Last step is to deploy!
If you have any additional environment variables or custom deployment hooks to configure, go ahead and make those updates now. Otherwise, click on the Deploy button.
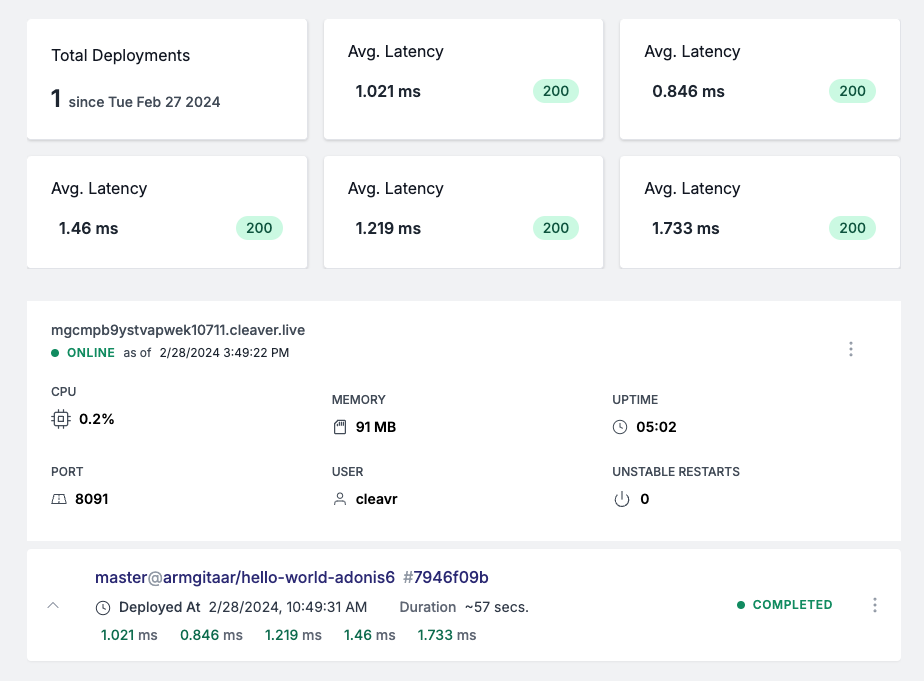
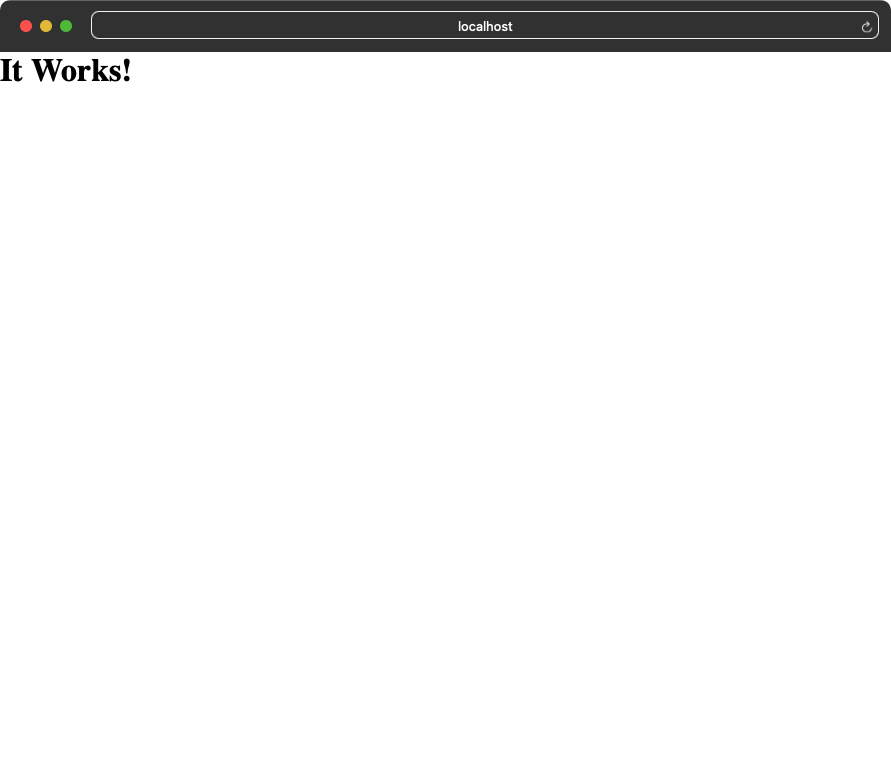
Once Cleavr runs through the deployment process, and everything is green, click on the link to visit your app.
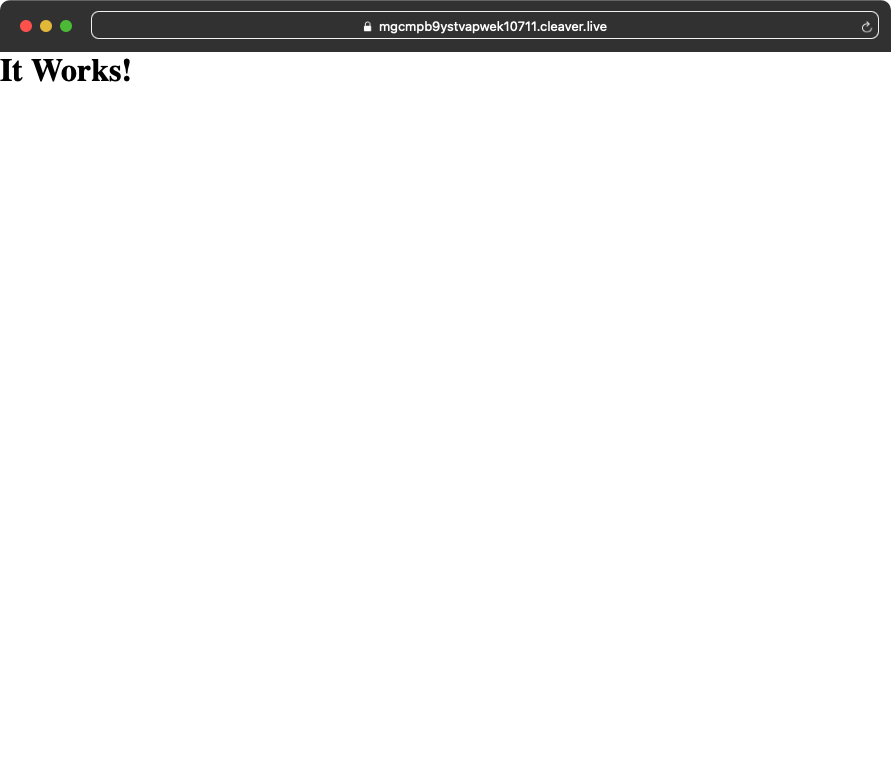
It works!
Take control of your servers and deployments.Without breaking a sweat.
Sign up for a 5-day free trial of Cleavr Pro. No credit card required until you decide to subscribe.
Sign up for freeCleavr
© 2026 Vistafari LLC. All rights reserved.
❤️ ☕️ 🎨