21 September 2022
blog
how-to
How to skip cache server wide
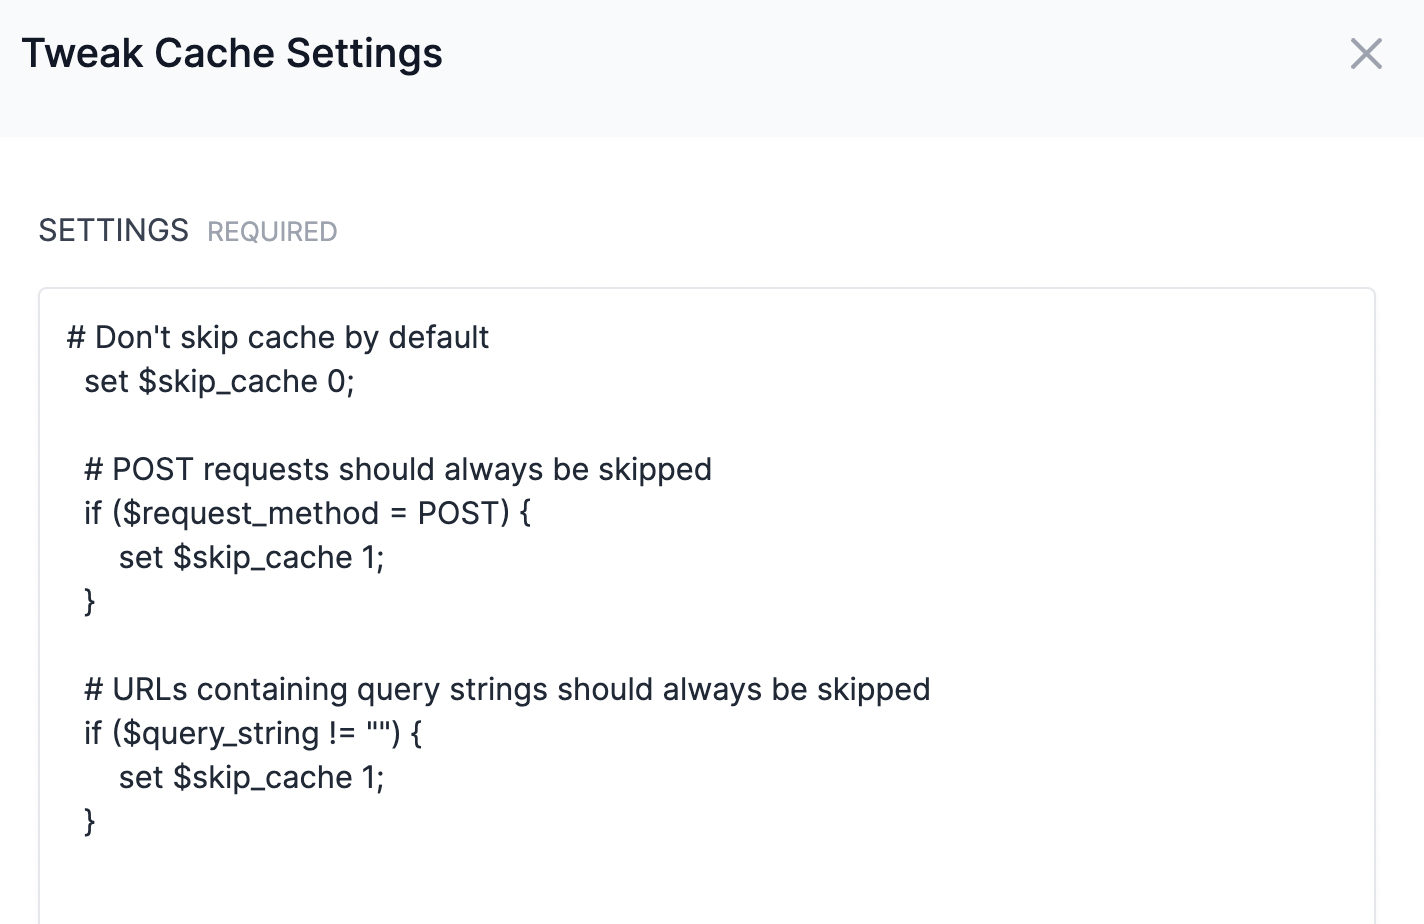
In Cleavr.io, you can enable NGINX cache or FastCGI (for PHP-apps) for any site as well as configure cache settings for each site.
The great thing about caching your sites is that your server can serve a page, or elements within a page, directly from a saved cache store as opposed to having to re-generate the whole page, or element, every time a request is made to view it.
This greatly increases the performance of your sites for your visitors since the server is able serve content quicker. However, you don't necessarily want everything to be cached and served to visitors directly from the cache store. This is especially true for more dynamic content, personalized content, and cookies.
If you find yourself adding the same cache settings for all of your sites, then you may consider configuring cache settings server-wide to avoid repetitive work and maintenance.
Here is how you can make that happen!
Step 1: SSH into your server
Cleavr.io doesn't have a server-wide NGINX Cache config section currently. But, Cleavr.io offers the tools to help get this done easily and securely.
The first step is to SSH into your server. If you have never SSH'd into your server before, then check out this guide to learn how to SSH into your Cleavr-managed servers.
Once you have SSH'd into your server, using the terminal, navigate to the NGINX conf.d directory.
cd /etc/nginx/conf.d
Step 2: Add cache config files
NGINX will automatically pick up and files in the conf.d directory that end with .conf. So, all we need to do is add a new file using the .conf extension.
You can add multiple config files and give them a descriptive name so you know what the config file is for. In fact, doing it this way may help you keep things more organized.
Let's add a couple of examples.
First, let's add a new file to exclude a path from being cached.
vim exclude-path-name-from-cache.conf
This will create a new file and then allow you to edit the file via vim. New to vim? Check out this guide on how to get started using vim.
For the contents of the configuration file, add the following:
if ($request_uri ~* "(/enter-path-here/)") {
    set $skip_cache 1;
}
Swap enter-path-here with the path that you wish to exclude caching for.
Save the file.
Second, let's see how we can skip a cookie from being cached.
vim exclude-cookie-from-cache.conf
Then, we can add something like the following to the new file:
if ($http_cookie ~* "enter-cookie-name") {
    set $skip_cache 1;
}
Swap enter-cookie-name with the name of the cookie you wish to exclude from cache.
Save the file.
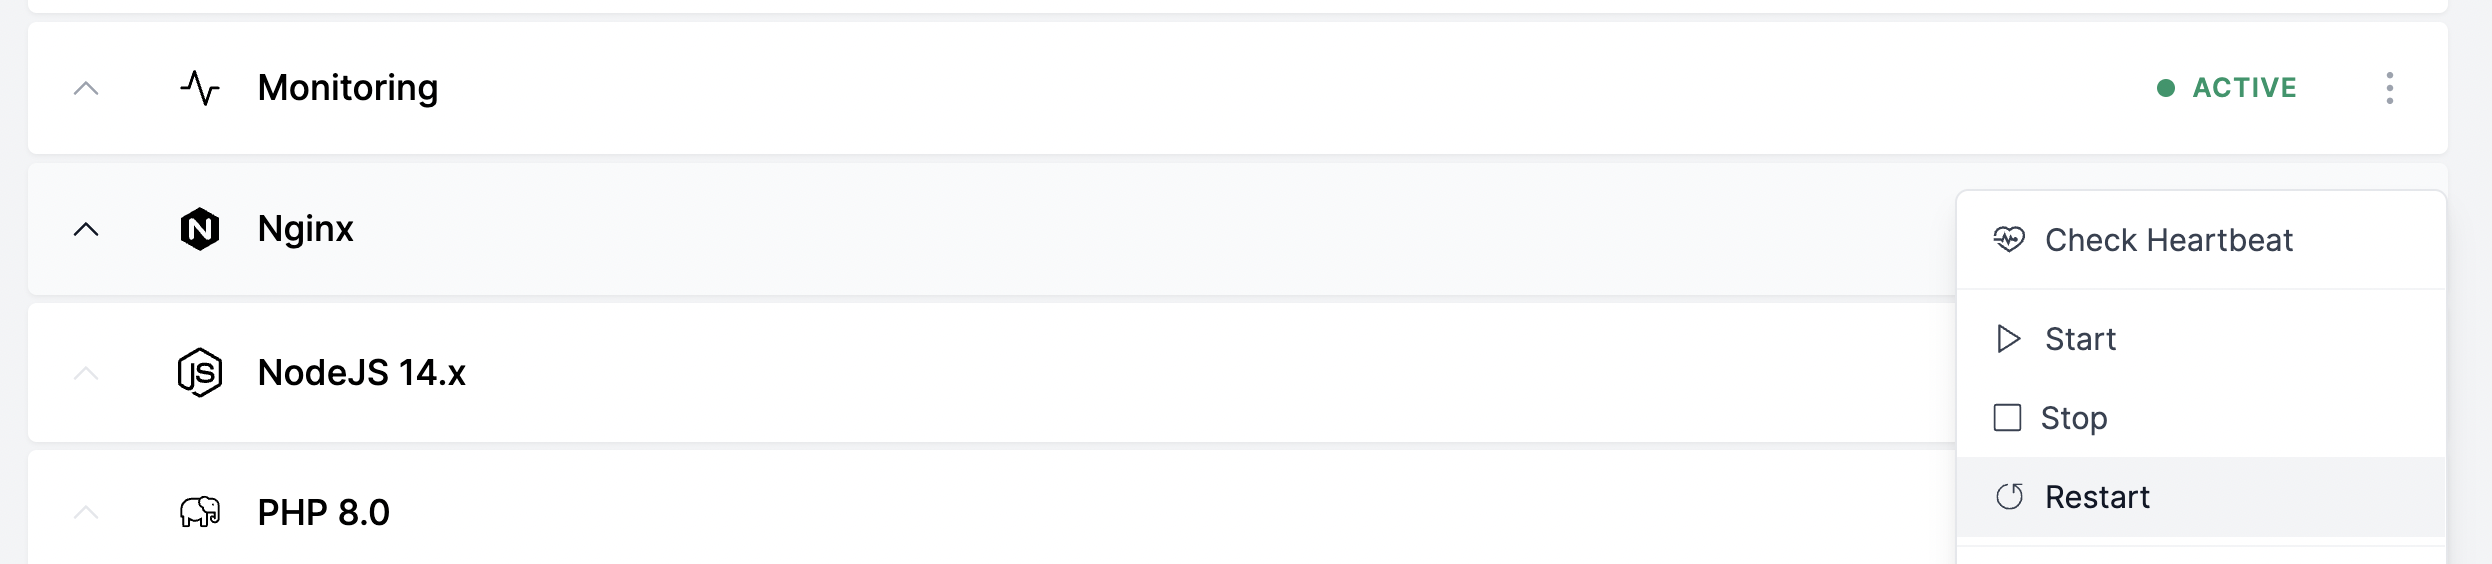
Step 3: Restart NGINX
We're done with the terminal, so we can close that and go back to Cleavr.io.
Locate the server that the cache configs were created on, go to the Services section, and then restart NGINX.
That's it! NGINX will see the config files and will now refer to the new cache configs for all server caching operations.
I hope you find this guide useful! Please check out our other guides and blog posts in the Cleavr Slice.
Take control of your servers and deployments.Without breaking a sweat.
Sign up for a 5-day free trial of Cleavr Pro. No credit card required until you decide to subscribe.
Sign up for freeExplore our other products
Cleavr
© 2025 Little Bets, LLC. All rights reserved.
❤️ ☕️ 🎨