02 August 2023
blog
laravel
How to deploy Filament 3 apps
We're excited to see more and more users taking advantage of Cleavr to deploy their Filament 2 applications! With the recent release of Filament 3, we want to cover the deployment process for Filament 3 to ensure you have the best possible experience.
Filament is an easy-to-use tool for creating a user-friendly administration interface. It's a great way to help you manage your content quickly and efficiently.
To get started, I've forked a demo application that we'll use as we go through this blog together.
Let’s get started by creating a Laravel site.
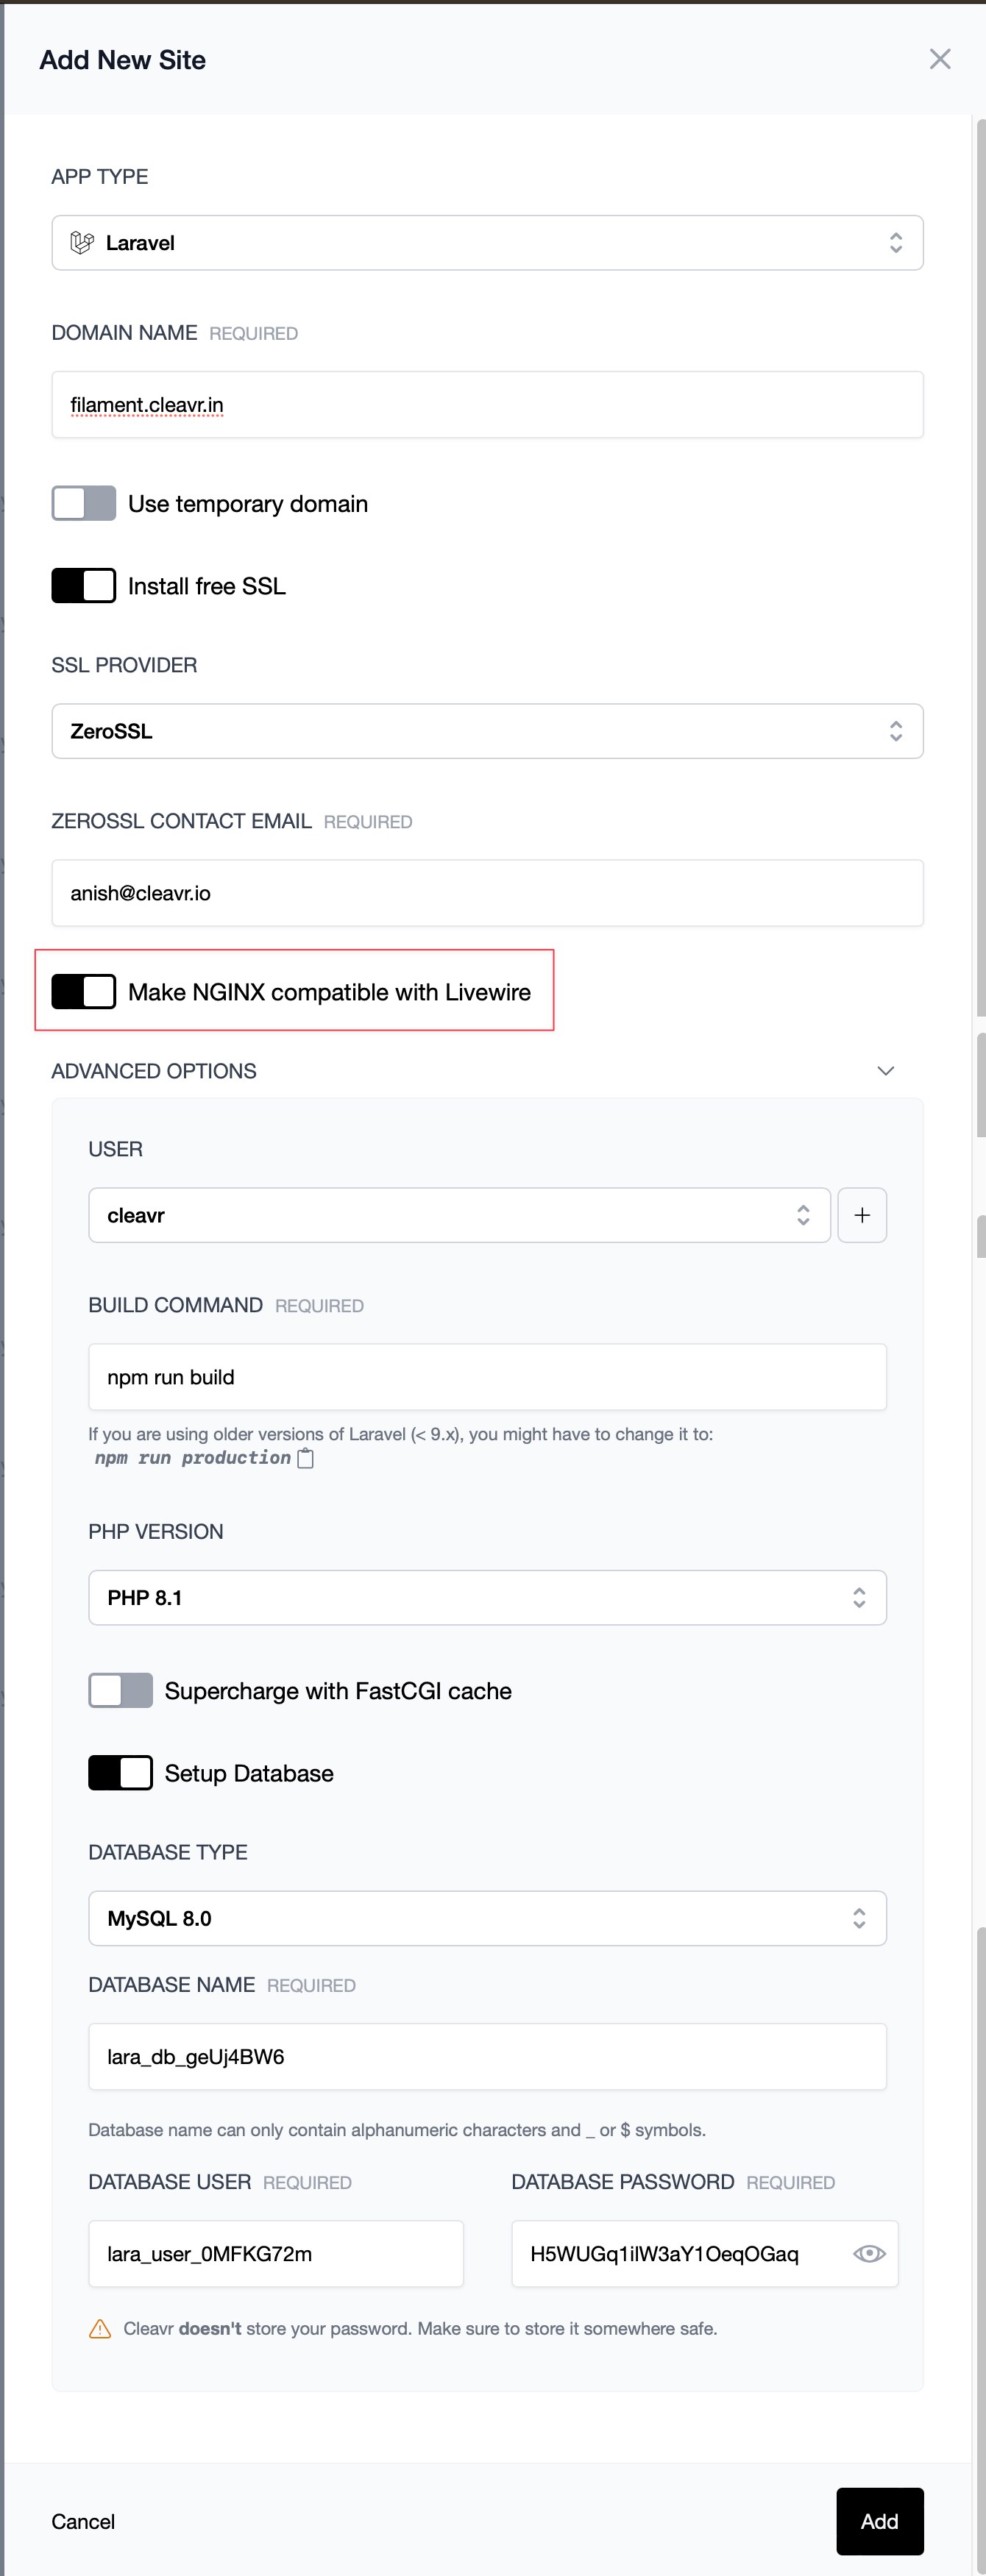
To ensure a smooth experience, make sure to turn on the 'Make NGINX compatible with Livewire' option. You also have the choice of either MySQL or Postgres databases - select whichever works best for you.
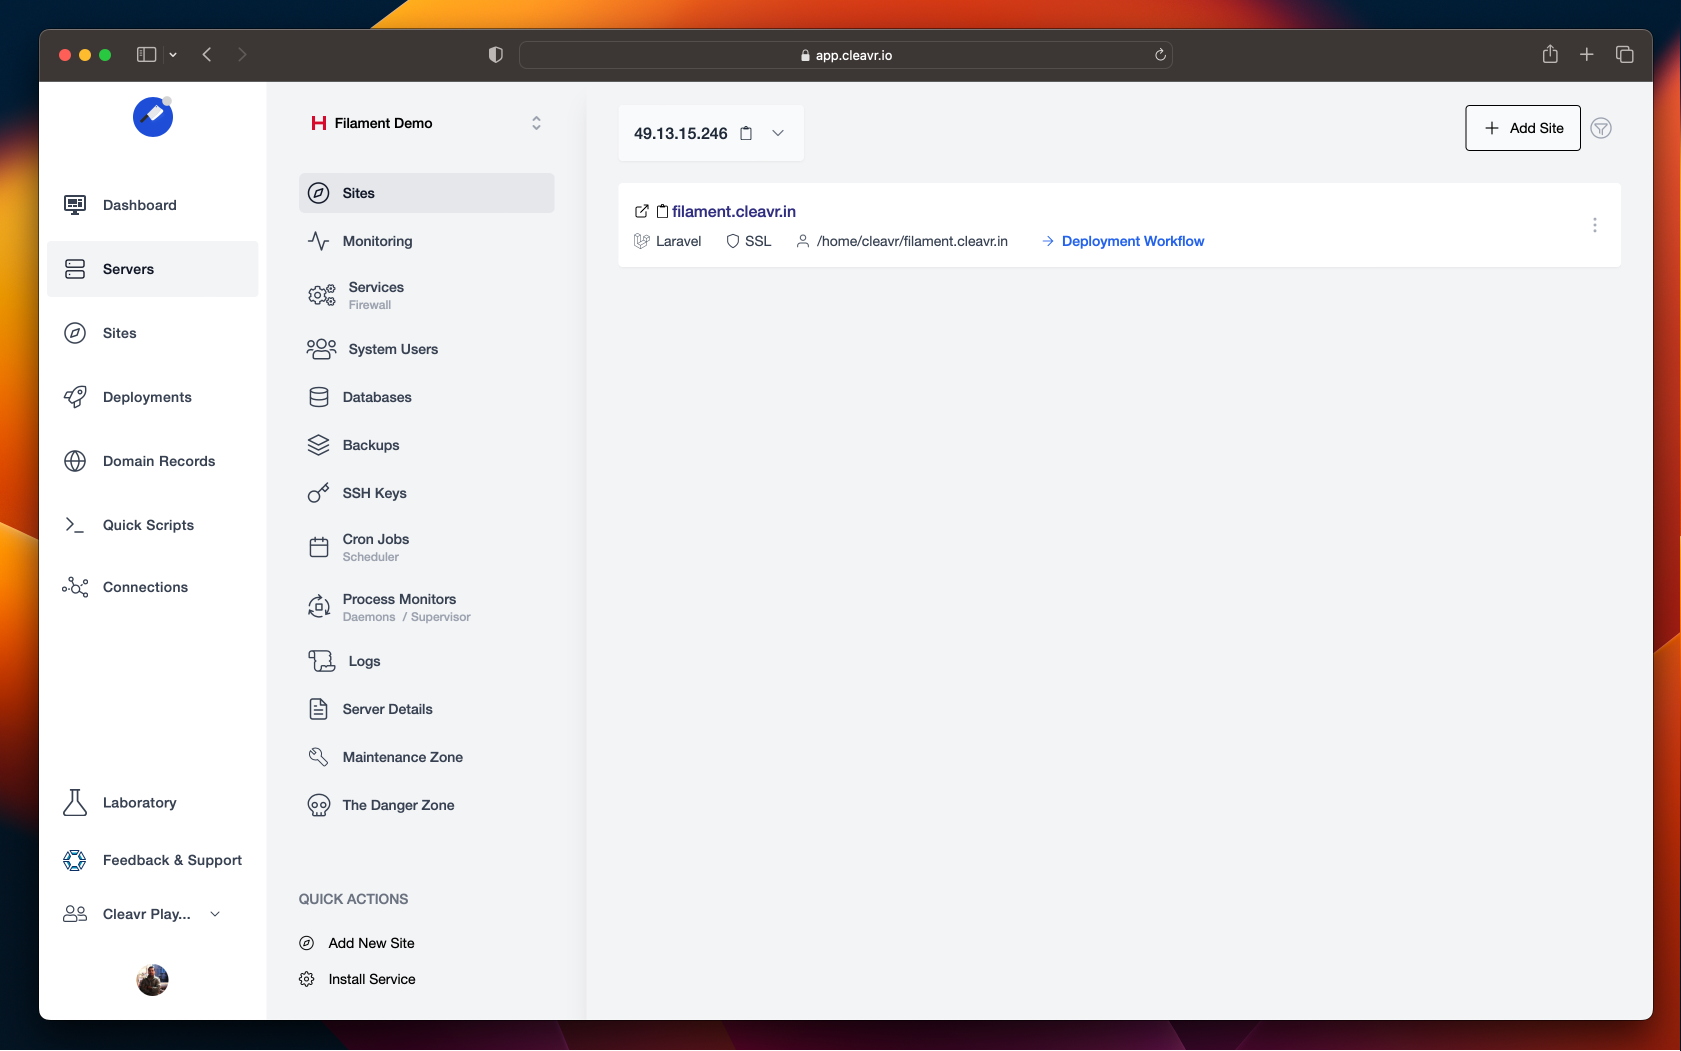
Now that the site is created, let's go over to the Deployment Workflow and configure the repo settings, and manage credentials so we can get everything up and running.
Head over to the Deployment Workflow > Settings > Basic page to configure your repo settings. Here, you can easily select the Filament repository you'd
like to deploy.
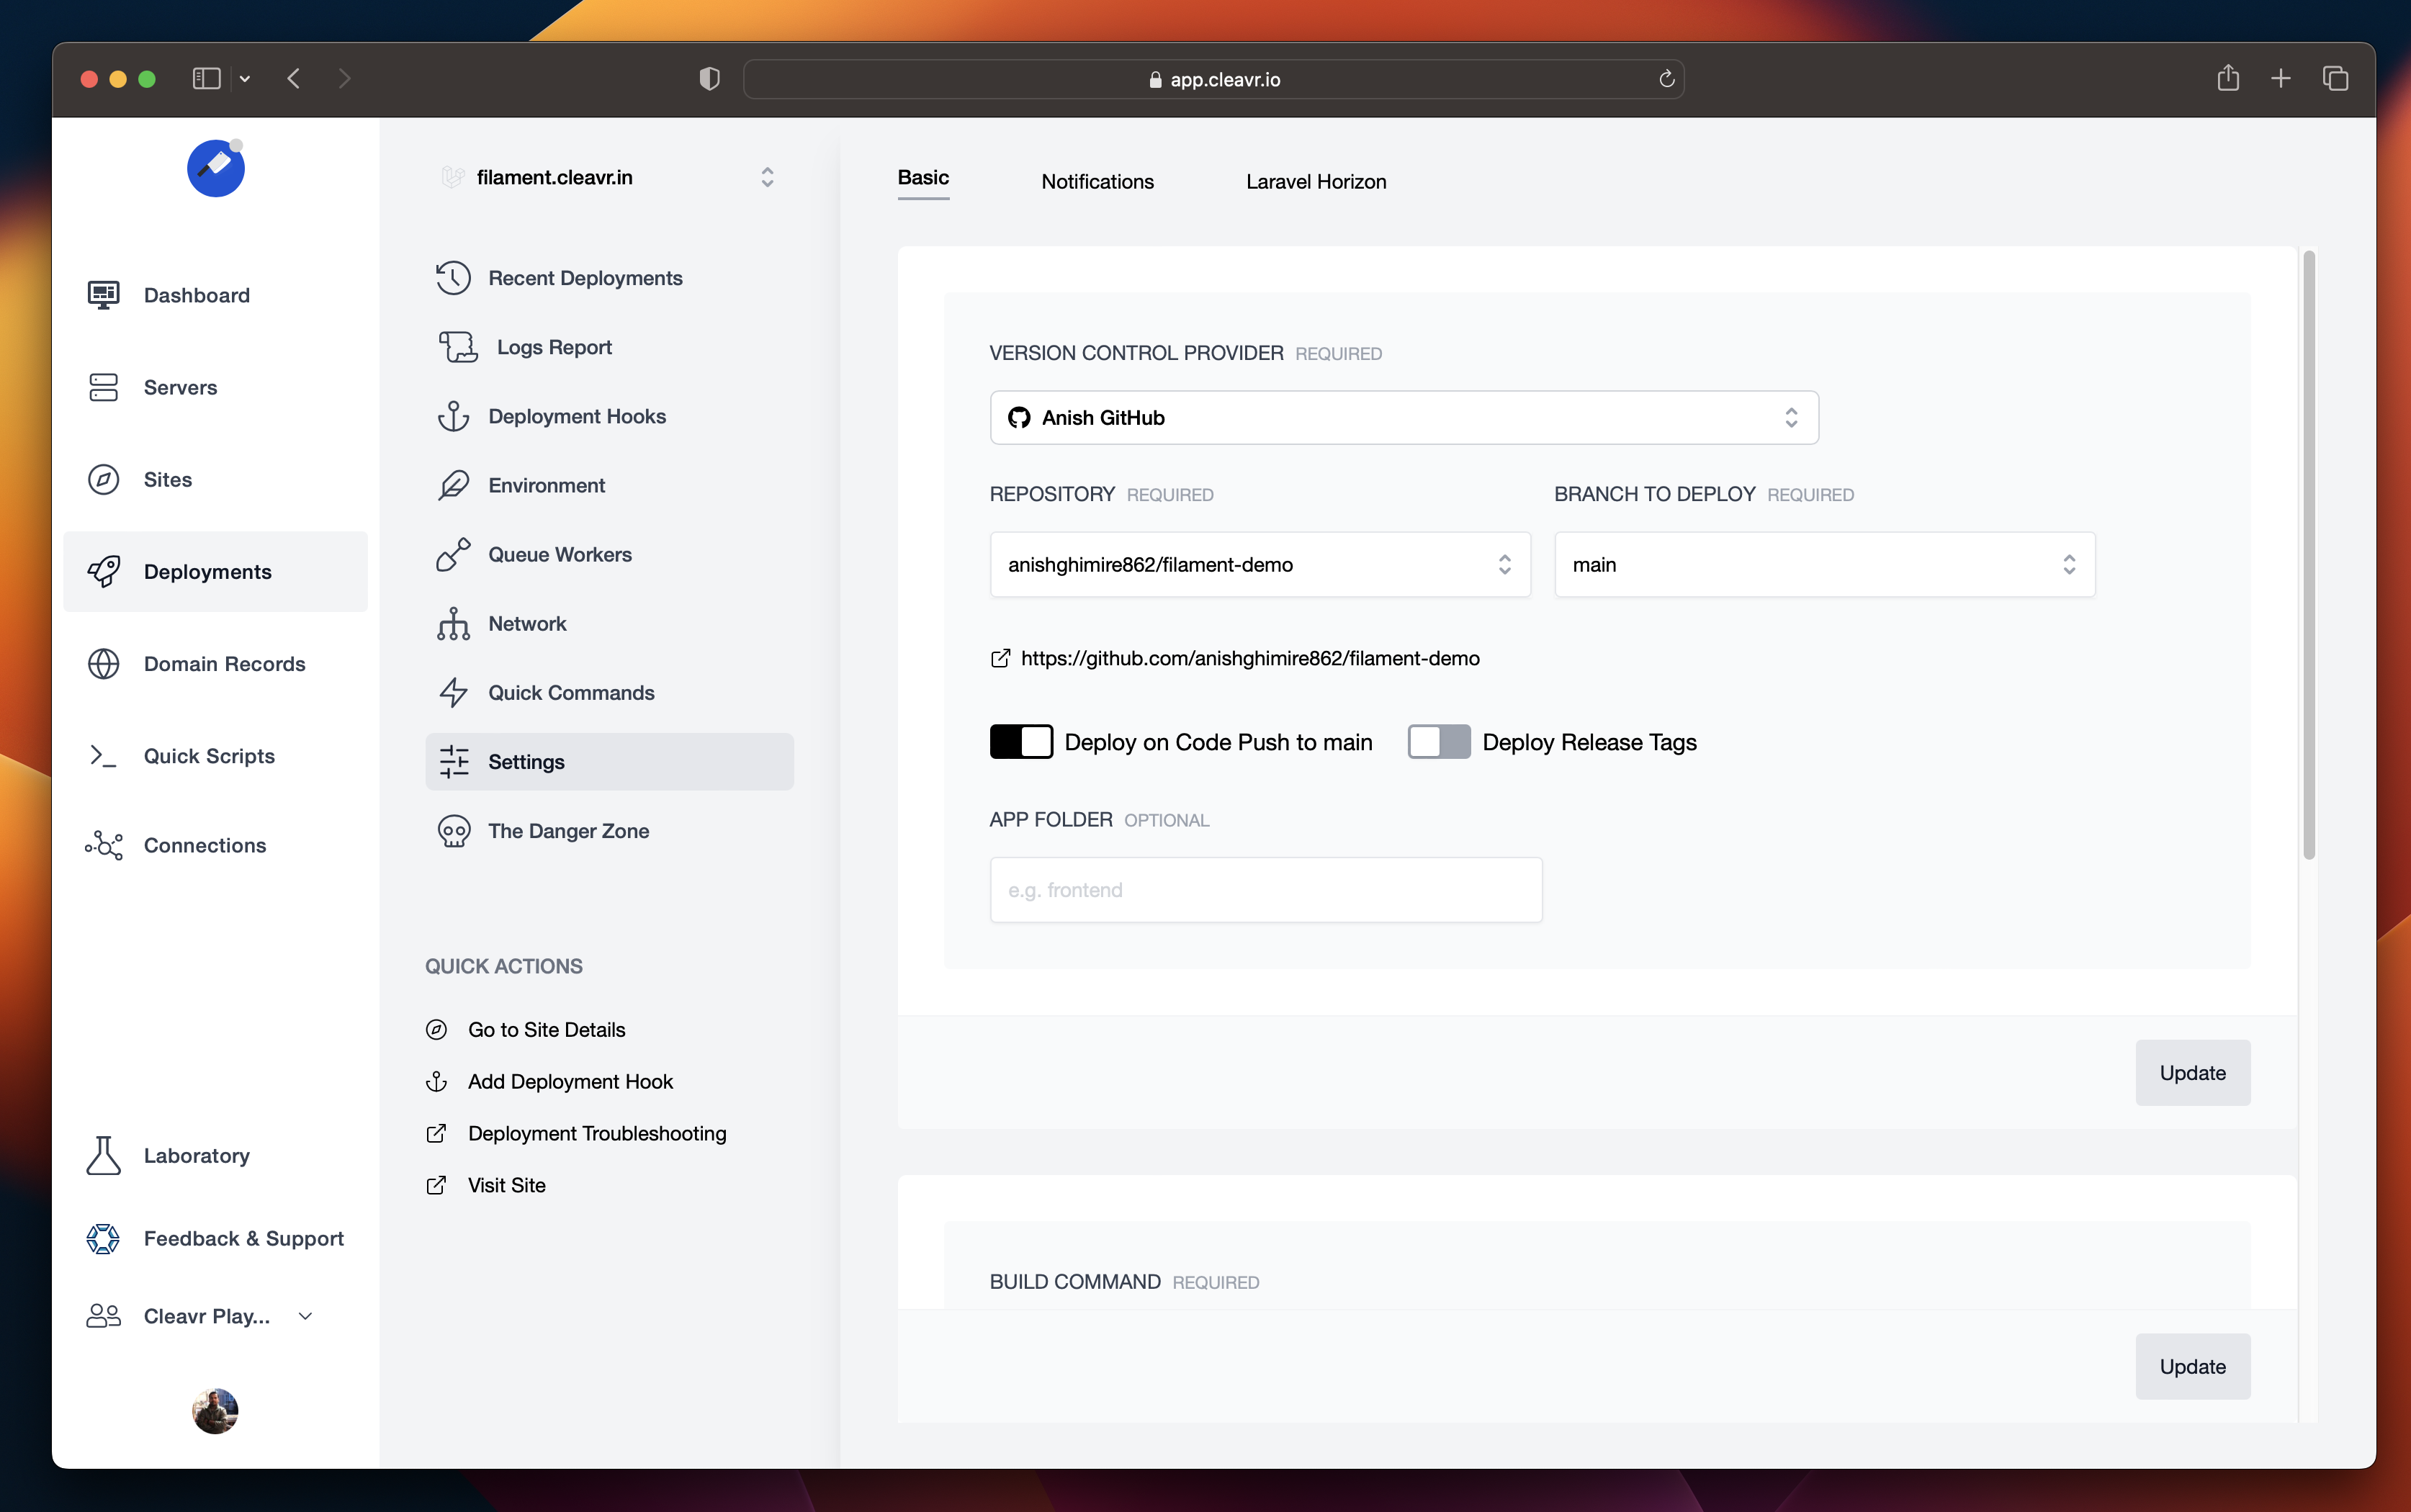
If you're just getting started with Filament, you can quickly get started by forking the repository from https://github.com/filamentphp/demo or from https://github.com/rabinkmc/filament-demo
Great! Now that your repo is all set up, let's get your app specific credentials updated. You can do this from the Environment page.
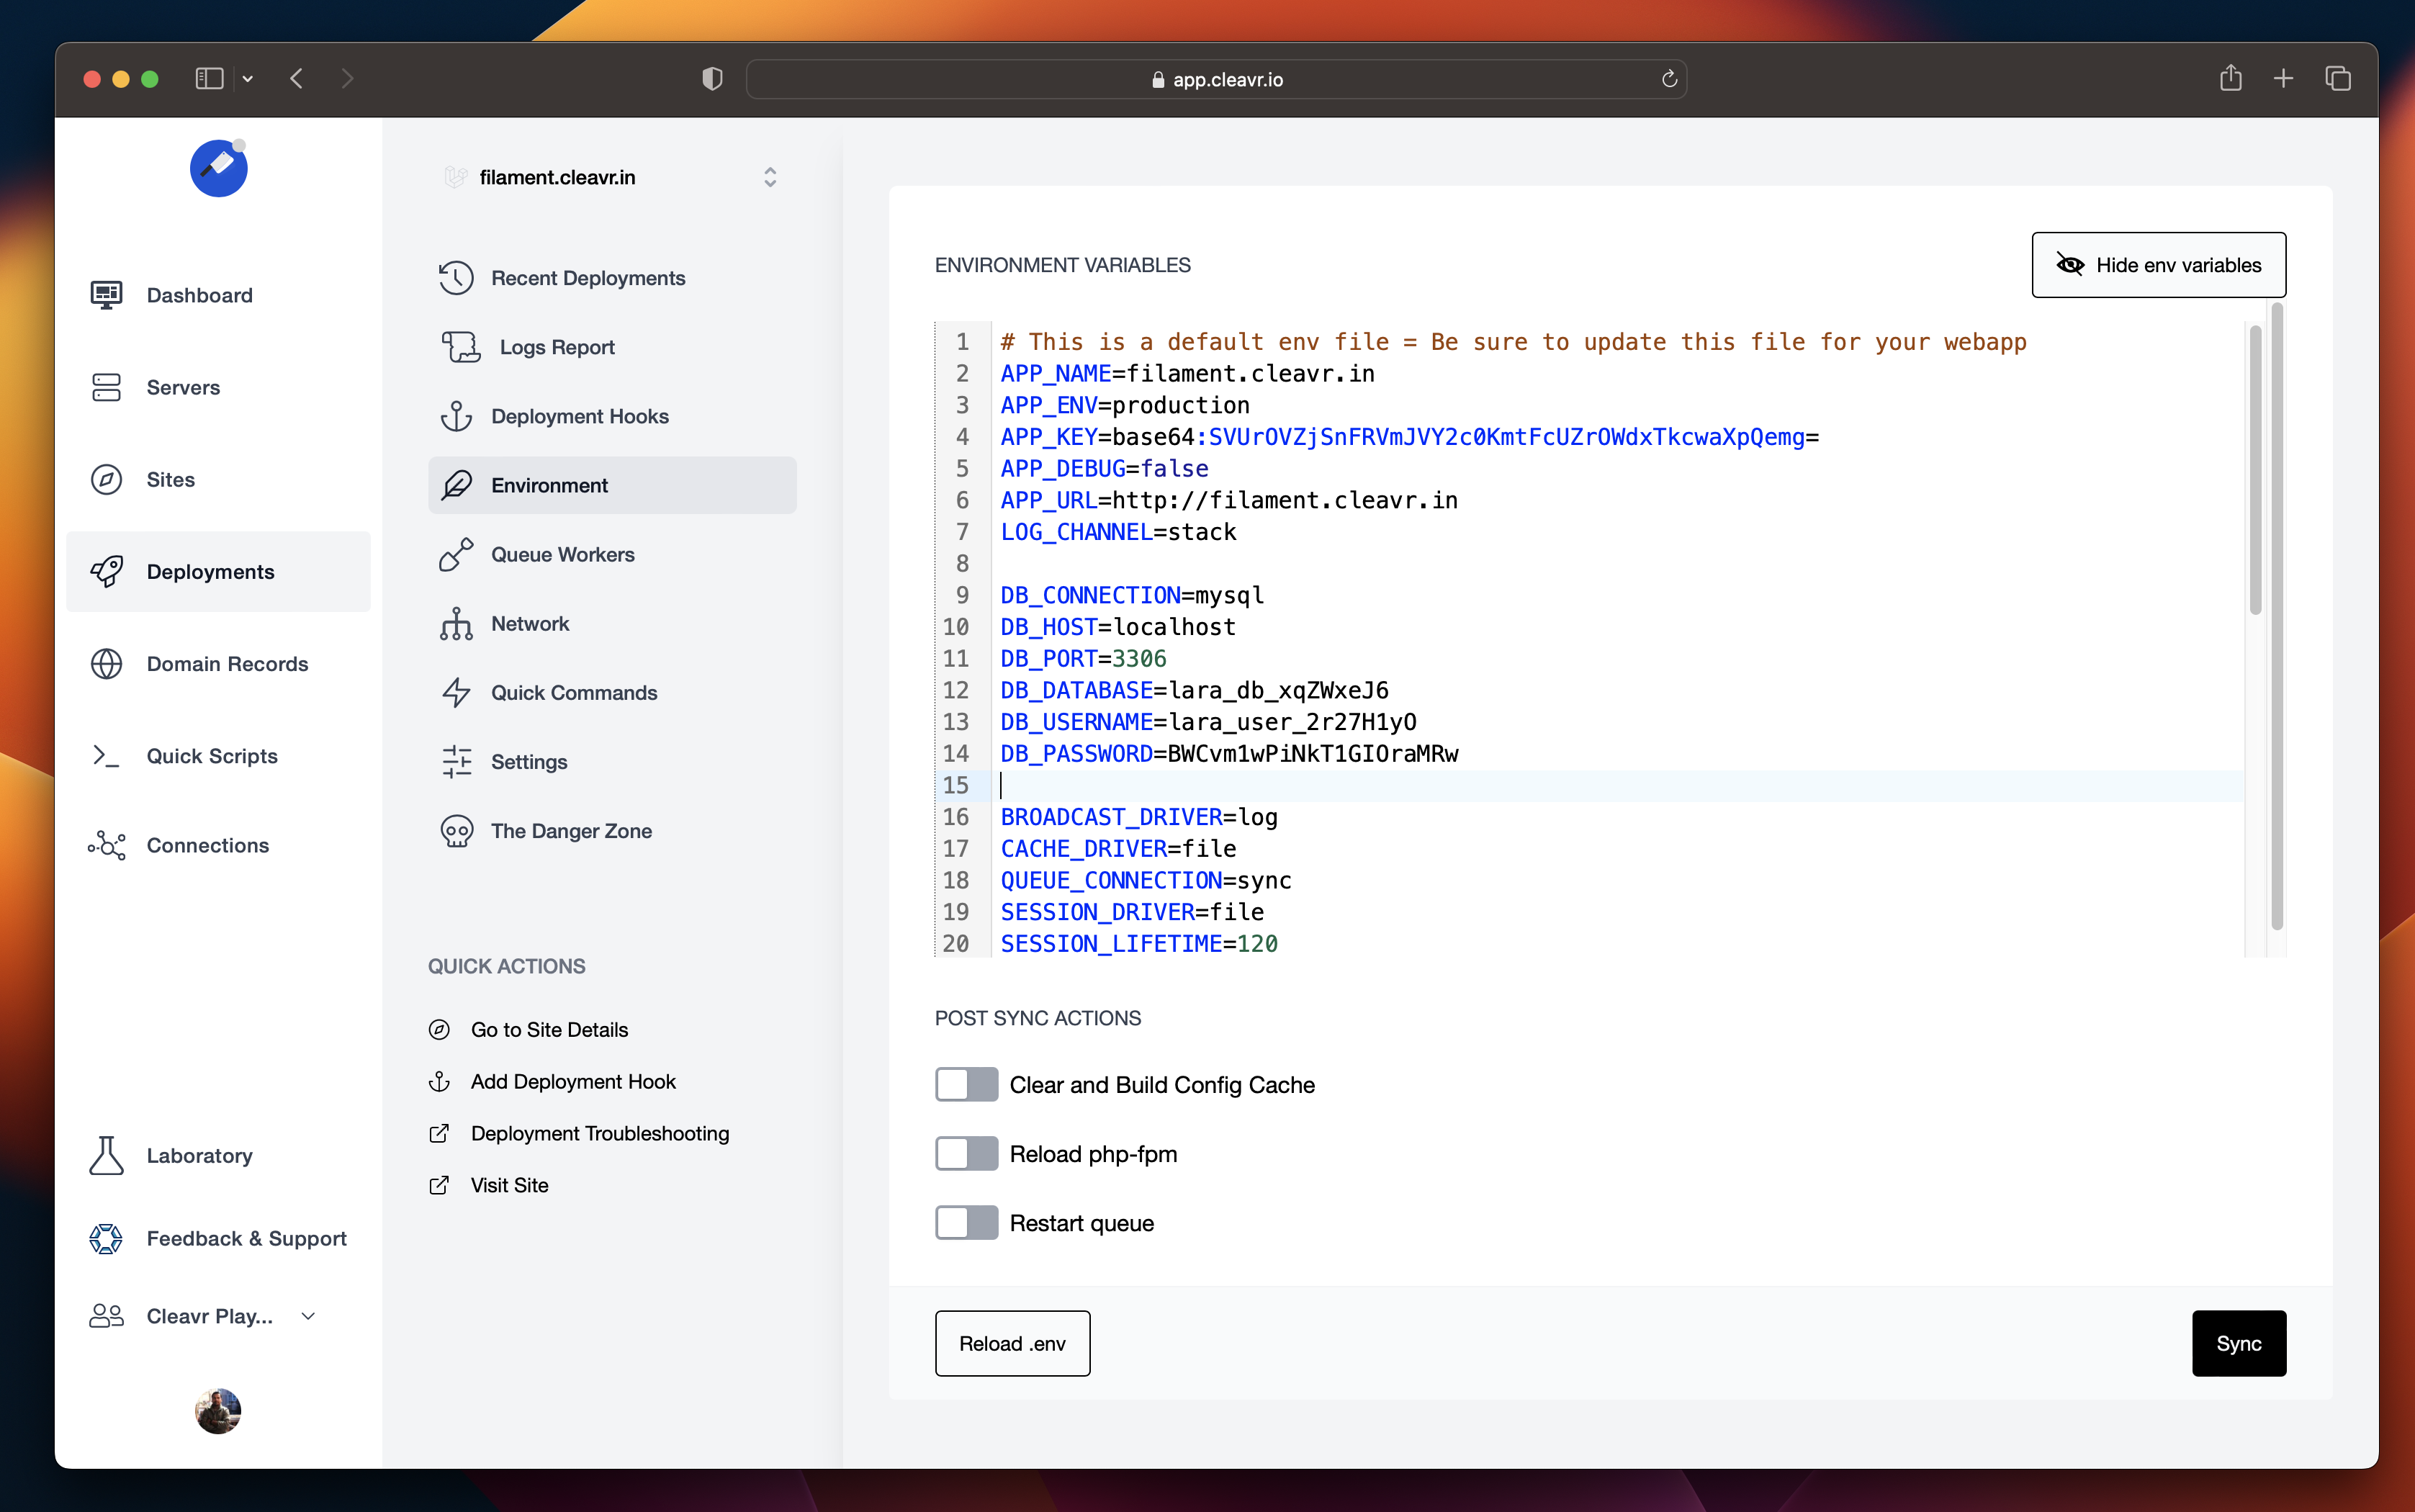
We are ready to deploy the application. Let's head over to the Recent Deployments page and start the deployment by clicking the Deploy button.
Once the deployment completes, your Filament app is now accessible.
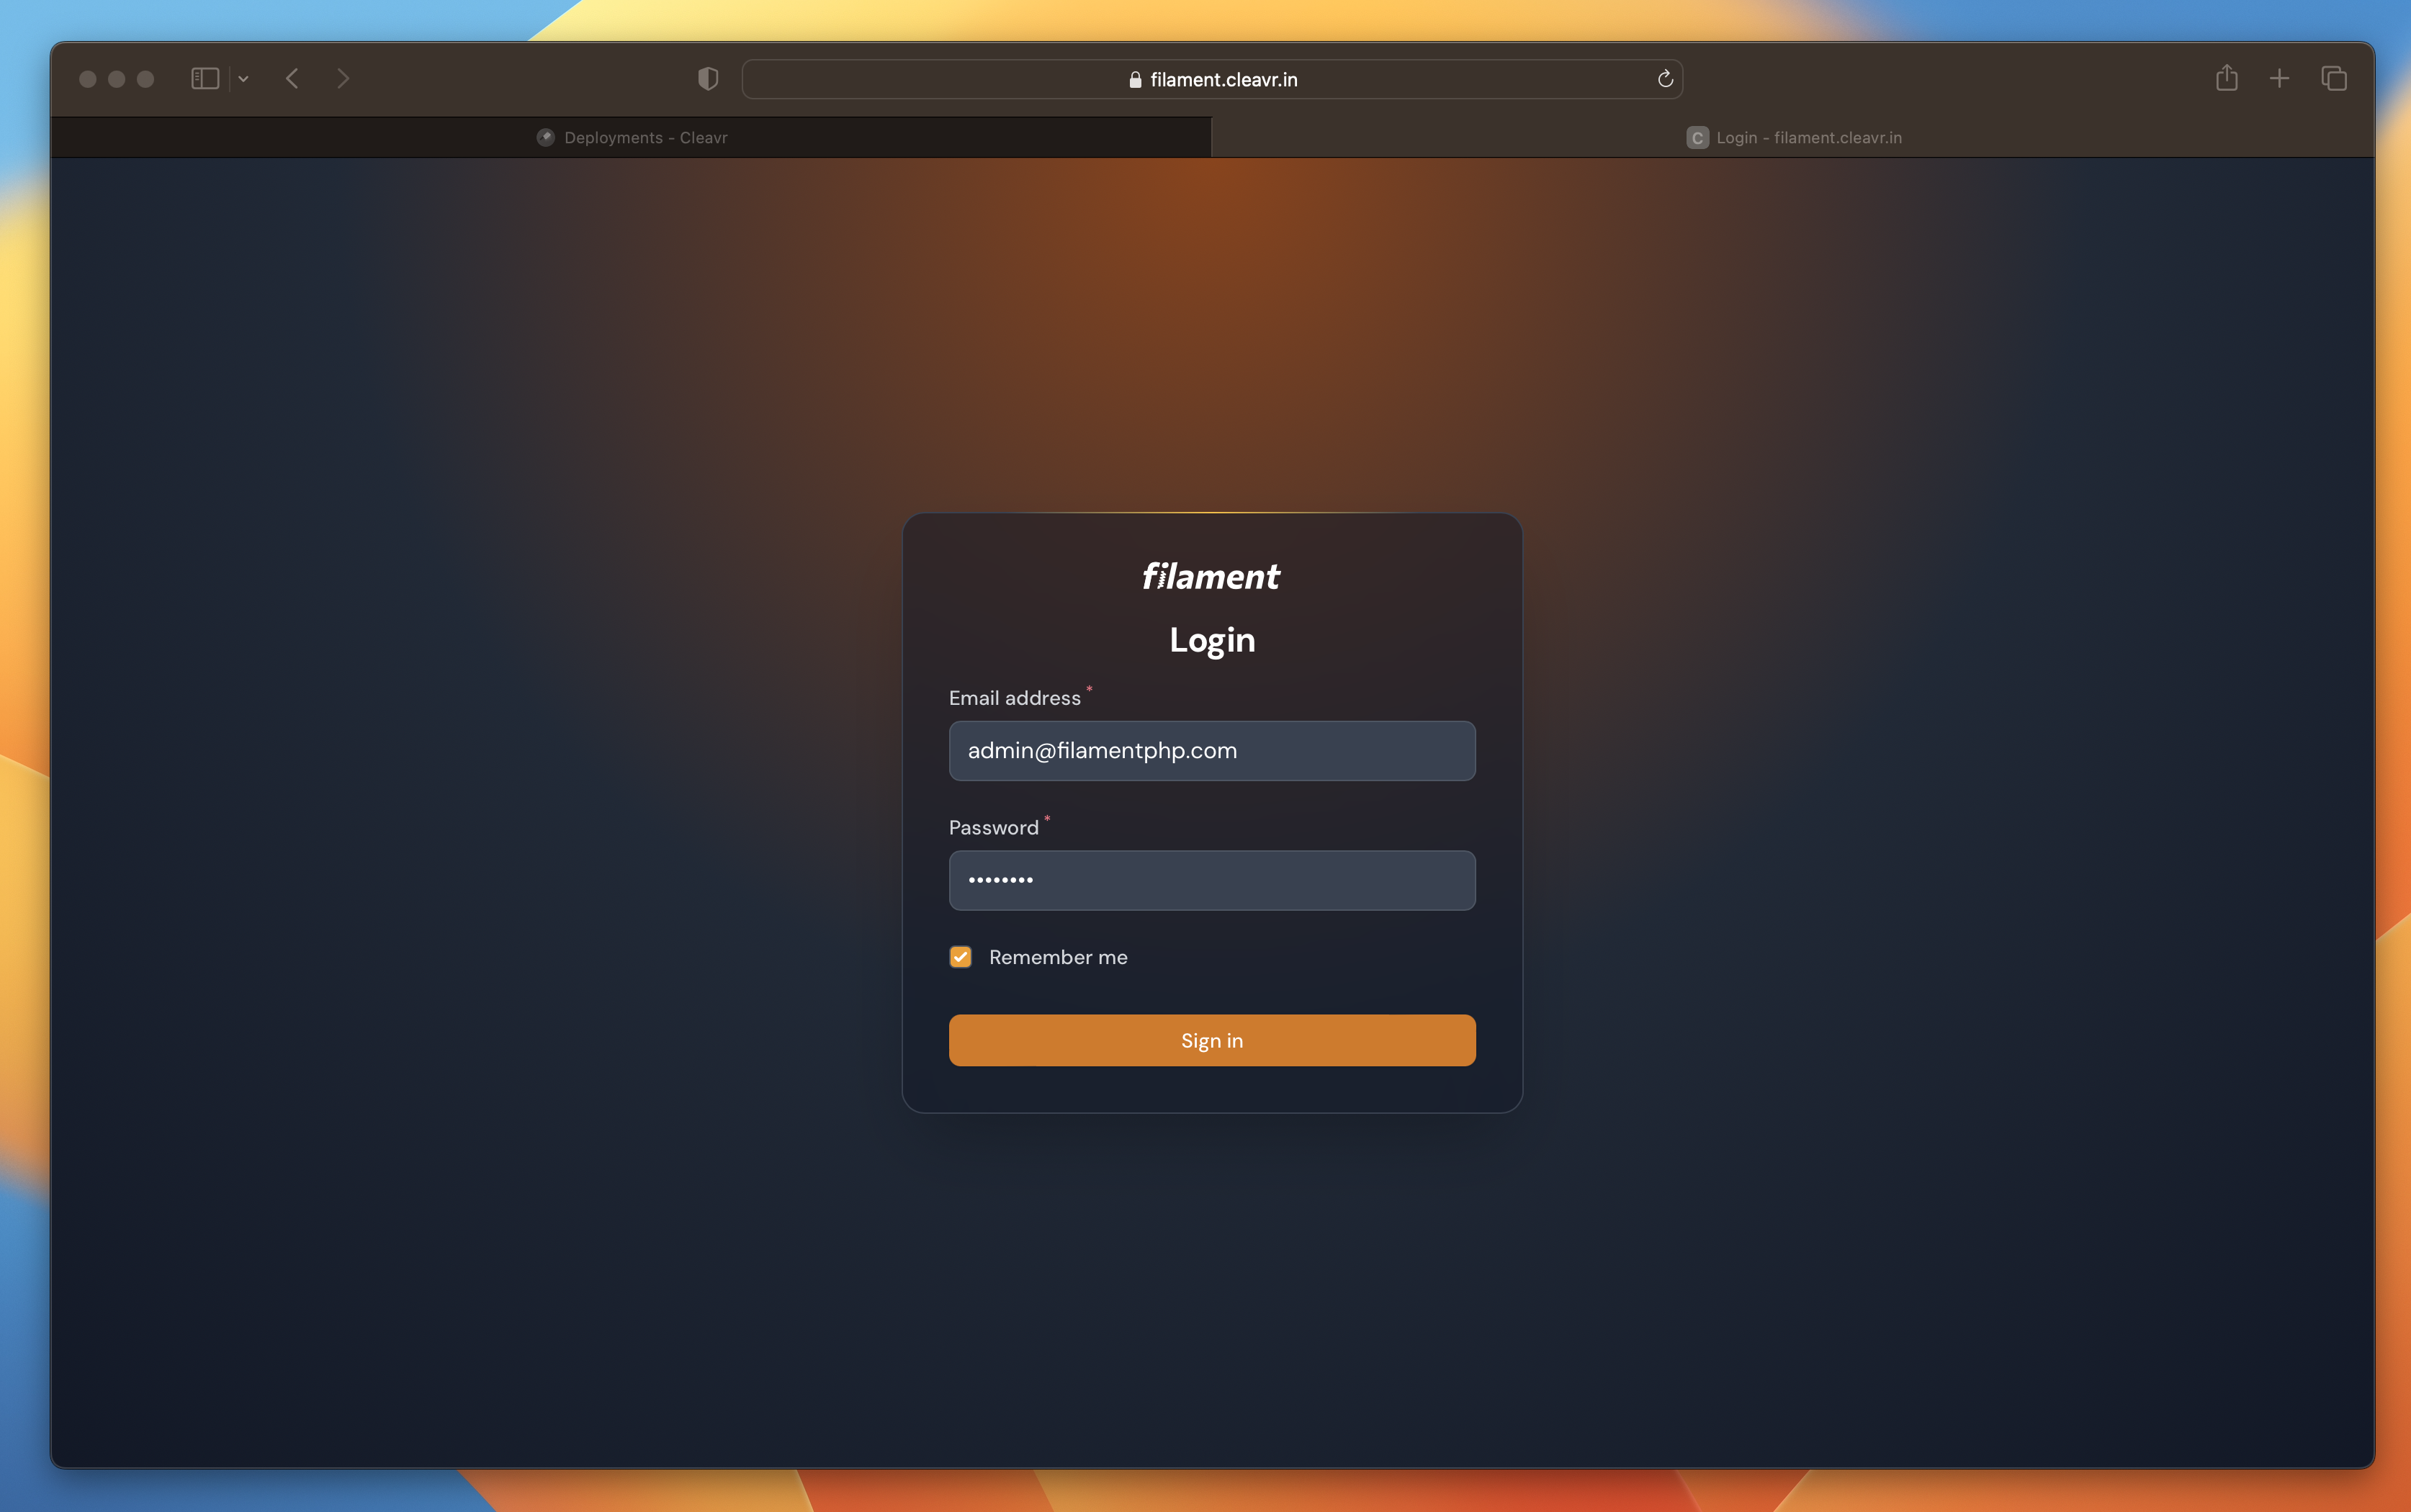
I hope that this blog will be helpful while deploying Filament applications.
Take control of your servers and deployments.Without breaking a sweat.
Sign up for a 5-day free trial of Cleavr Pro. No credit card required until you decide to subscribe.
Sign up for freeCleavr
© 2025 Vistafari LLC. All rights reserved.
❤️ ☕️ 🎨
