05 July 2022
deployment
tips
How to deploy a monorepo
Let's deploy a monorepo project with Cleavr!
In this guide, we'll use Strapi's demo application, Food Advisor.
This demo application has the following setup:
- Front-end: React.js
- Back-end: Strapi v4
- Node version: v16
- Database: SQLite - we won't need to setup a db server in this example
For this demo, I forked the Strapi repo strapi/foodadvisor; however, you should be ok to deploy directly from this public repo instead of forking to your account.
Step 1: Provision a server
In Cleavr.io, provision a new server. Since Strapi requires a little more juice to build apps during deployment, deploy a server with a couple of cores.
You may be able to get away with a 1-core server, but if during deployment you see 'JavaScript Heap Out Of Memory', then you'll either need to enable GitHub Actions or provision a more beefy server.
Step 2: Add Strapi backend site
Once you server is provisioned, add a new Strapi 4 site.
Make sure to set node version to 16 if Node has not already been installed on the server.
Also, make sure to set the port number to 1337. The app has this port hard coded, so we'll need to explicitly set it to 1337. Or, you can update the code to refer to the port assigned to the site.
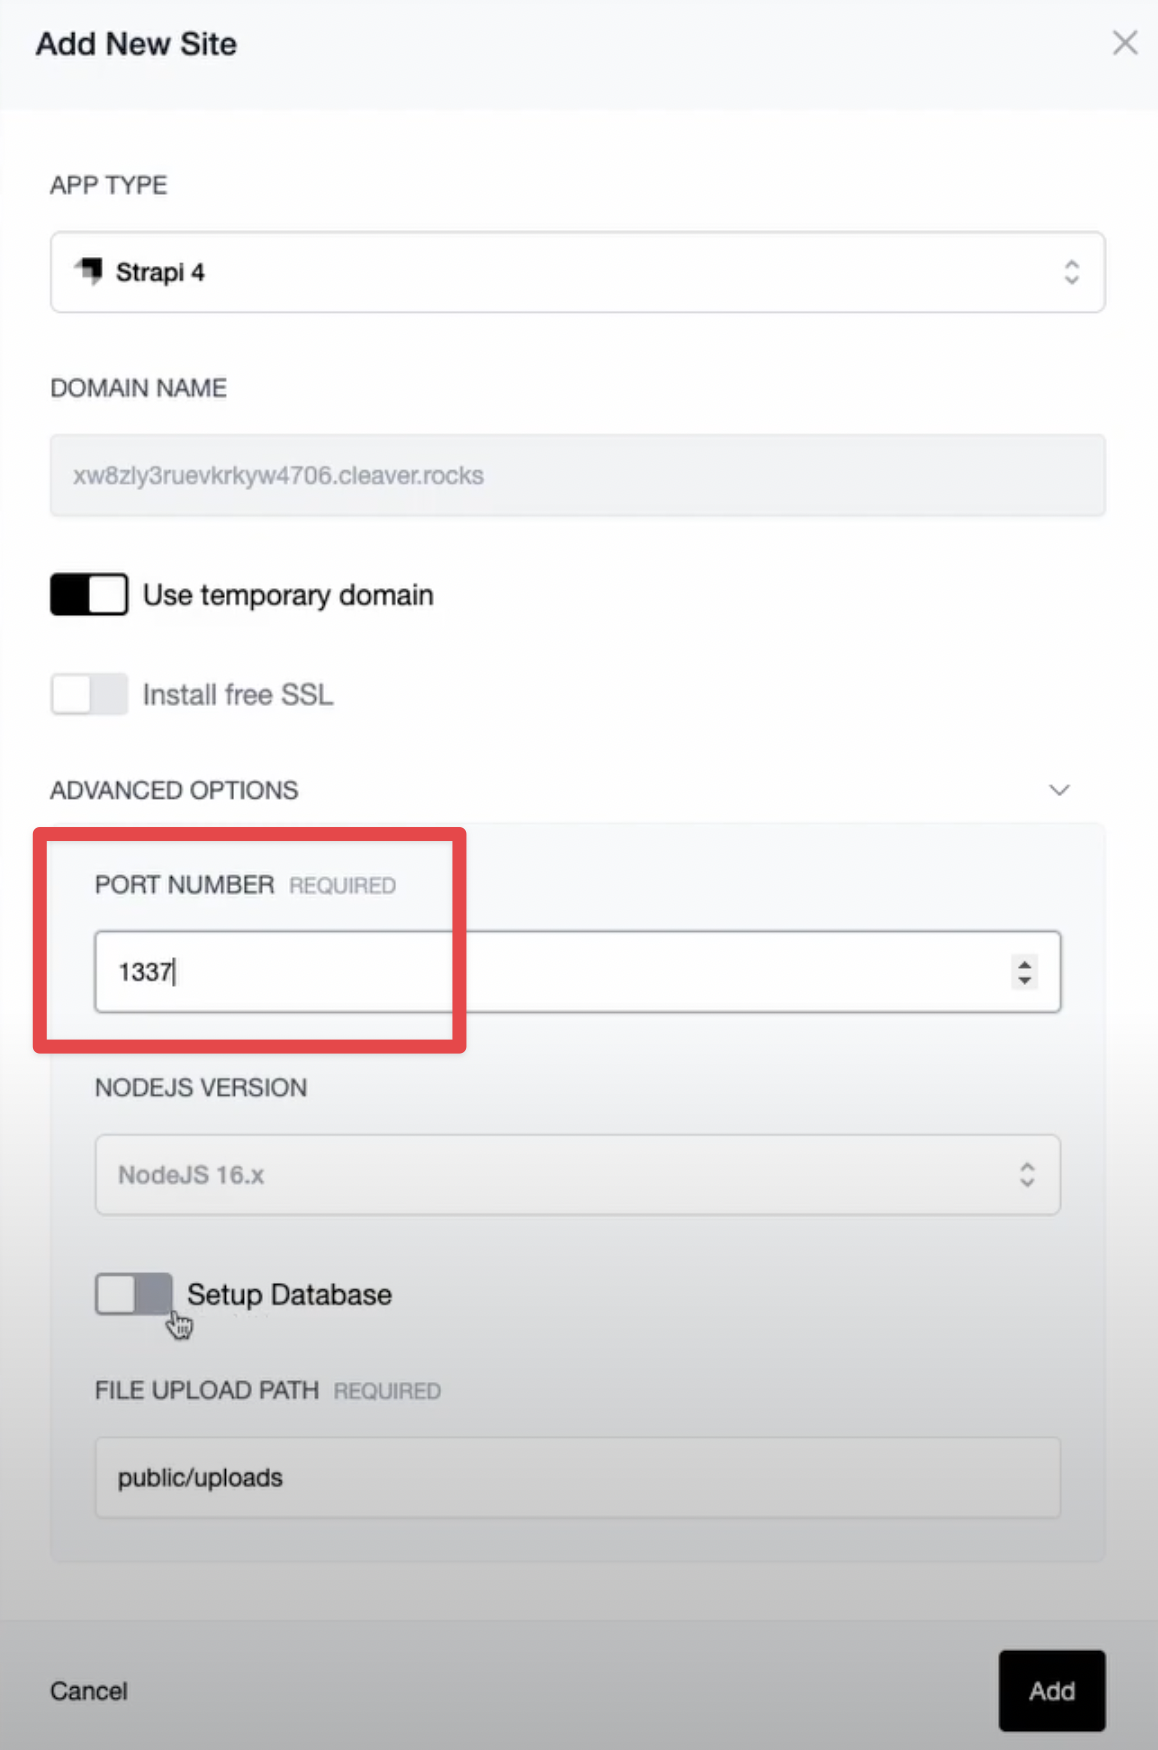
Click Add to add the backend Strapi site to the server.
Step 3: Add NodeJS SSR frontend site
After the backend site completes installation, add the frontend site.
Since the frontend uses React.js / Next.js, we'll set the new site to NodeJS SSR.
Make sure to set the following configurations:
- Entry Point:
npm - Arguments:
start - Artifact Path:
.next
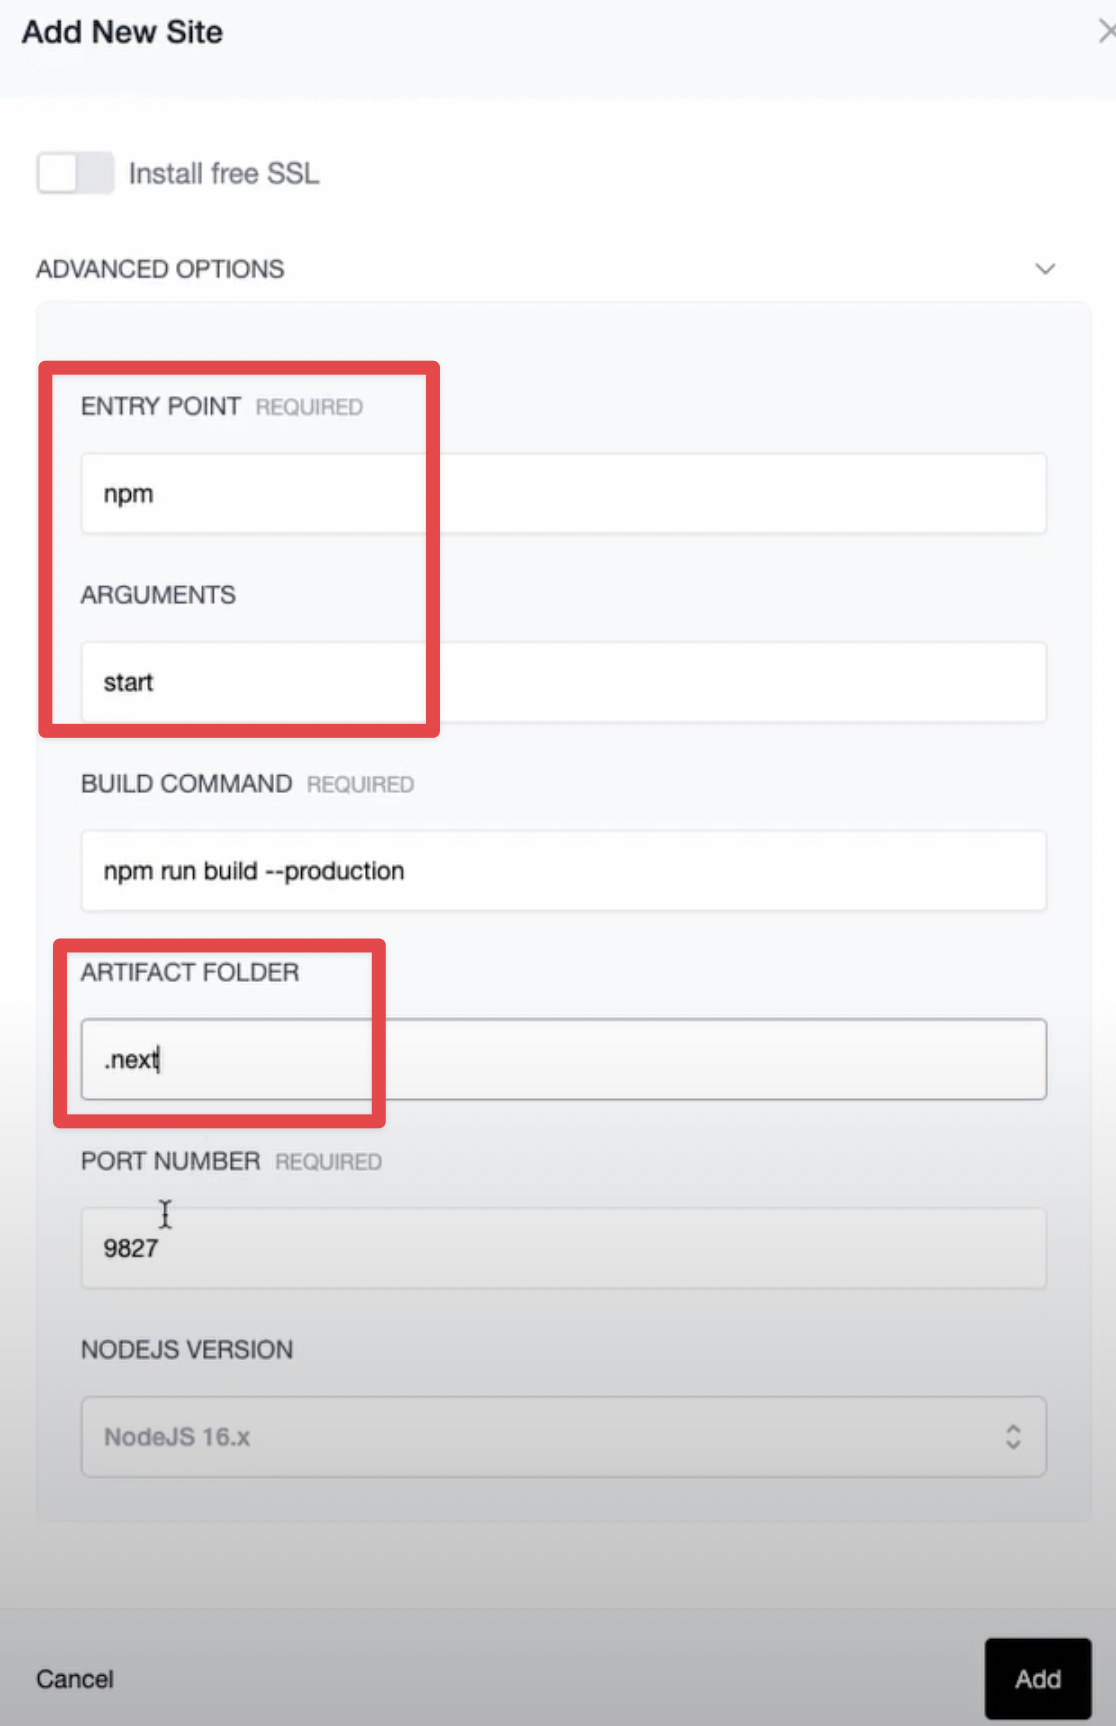
Click Add to add the frontend Next.js site to the server.
Step 4: Configure Strapi web app and deploy
Now that we have the frontend and backend sites on our server, we'll head to the Web Apps section to further configure the web apps and then deploy them.
Configure repository
In the web app section, click on the backend site and go to the settings > repo tab.
Select a GitHub version control provider and the set the following configs:
- Repository:
strapi/foodadvisor - Branch to deploy:
master - App Folder:
api
Click Update to save settings.
Configure env variables
Next, head over to the Environment tab and add the following variables:
HOST=0.0.0.0
PORT=1337
STRAPI_ADMIN_CLIENT_URL=http://your.backendurl.here
STRAPI_ADMIN_CLIENT_PREVIEW_SECRET=ARNFCb9zrC9ZHm5hZzCigWivD40icS4s
Click Sync to save.
Add seed db deployment hook
Next, in the deployment hook section, add a new deployment hook that will seed the db.
Create a new hook, add a title, and then fill in with the following:
cd {{ releasePath }}/api
yarn seed
Place the hook directly after the build hook.
Deploy
Time to deploy!
Go to the deployment tab and deploy out the backend.
Step 5: Configure NodeJS SSR web app and deploy
Let's now configure the frontend web app.
Configure repository
In the web app section, click on the frontend site and go to the settings > repo tab.
Select a GitHub version control provider and the set the following configs:
- Repository:
strapi/foodadvisor - Branch to deploy:
master - App Folder:
client
Click Update to save settings.
Configure env variables
Next, head over to the Environment tab and add the following variables:
NEXT_PUBLIC_API_URL=http://your.backendurl.here
PREVIEW_SECRET=ARNFCb9zrC9ZHm5hZzCigWivD40icS4s
Click Sync to save.
Deploy
Time to deply!
Go to the deployment tab and deploy out the frontend.
Step 6: Check out the Food Advisor site!
Now that the backend and frontend have been deployed, visit the frontend URL and you should see the Food Advisor website! 🎉
Take control of your servers and deployments.Without breaking a sweat.
Sign up for a 5-day free trial of Cleavr Pro. No credit card required until you decide to subscribe.
Sign up for freeCleavr
© 2026 Vistafari LLC. All rights reserved.
❤️ ☕️ 🎨