16 November 2021
flask
python
How to deploy your Python Flask projects
Python's popularity continues to sore and has consistently been one of the top programming languages for web development over the last several years. Python's powerful simplicity is easy-to-learn and easy-to-apply.
Flask is a straightforward framework for Python web development that makes it easy to get started on your web applications.
Since Python3 is pre-packaged on Ubuntu 20.04, we can leverage this fact to easily deploy an example Flask framework application using Cleavr.io.
Prerequisites
Before proceeding, you'll need to have an active Cleavr.io account and have a server provisioned and ready-to-go.
Step 1 - Add a NodeJS SSR app
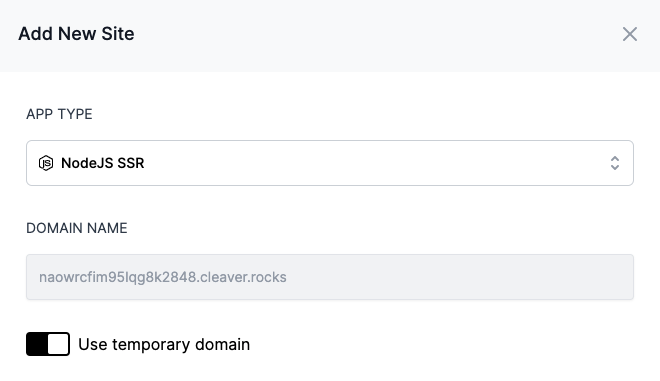
Add a new NodeJS SSR site to your server in Cleavr.

We're using NodeJS SSR as the site's app type as it will install Node AND PM2 to the server. PM2 manages more than just node applications, so we'll take advantage of this to serve our Flask app and keep it alive.
Step 2 - Configure app repo
Once the site has successfully been added to the server, click the Setup and deploy link to configure the web app.
On the settings > repo tab, add armgitaar/flask-example to the repo and keep branch as master.

In this example, we're using a Flask repo originally by XD that I've modified a bit to make the port number use the one automatically assigned by Cleavr. View the example repo here.
To view the modification, open the app.py file and scroll to the very bottom.
if __name__ == "__main__":
    app.run(debug=True, host="0.0.0.0", port=os.environ.get('PORT', 5000))
Flask apps default to run on port 5000. However, the following allows the app to run on the server assigned port: port=os.environ.get('PORT', 5000).
Step 3 - Configure entry and PM2 ecosystem
On the Build tab, set Entry Point to app.py.
In the PM2 ecosystem, we'll need to set the interpreter to Python3 as well as remove a couple of configs that aren't compatible with Python apps.
Add interpreter:
"interpreter": "/usr/bin/python3",
Remove the following lines:
 "instances": "max",
 "exec_mode": "cluster_mode",
The ecosystem should look similar to the following:
{
  "name": "your.domain.com",
  "script": "app.py",
  "args": "",
  "log_type": "json",
  "cwd": "/home/cleavr/your.domain.com/current",
  "interpreter": "/usr/bin/python3",
  "env": {
    "PORT": assigned port number,
    "CI": 1,
  }
}
Step 4 - Configure deployment hooks
On the deployment hooks page,
- Disable Install NPM Packages hook
- Disable Build Assets hook
Add a new hook to install Python dependencies:
pip install -r requirements.txt
Order the above hook to run before the activation deployment hook.
Step 5 - deploy!
Once all of the above is complete, deploy the app!
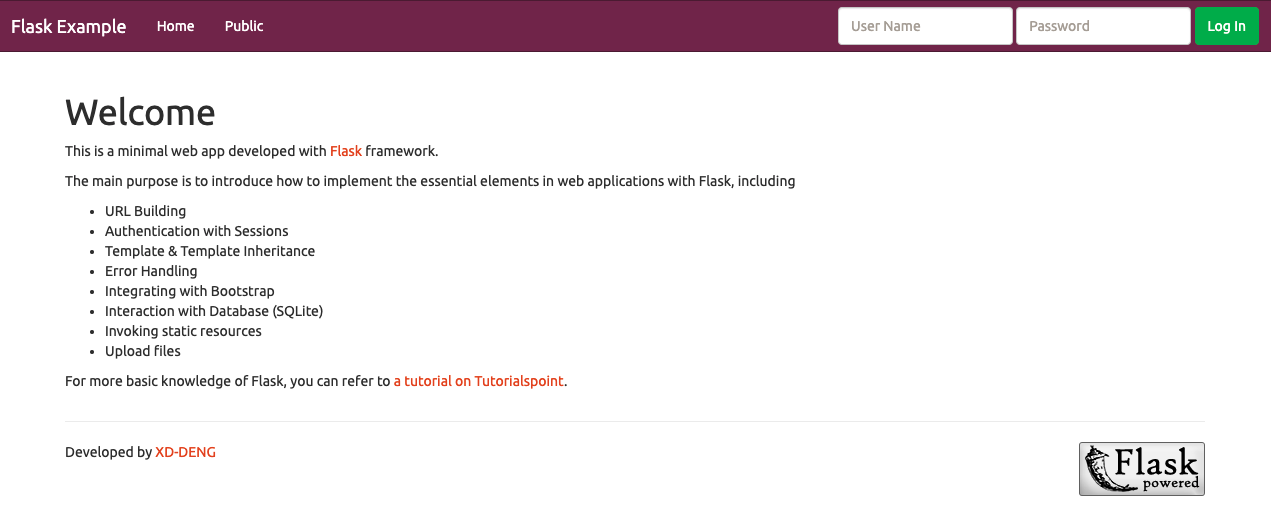
You should see a page that looks like the following:

Take control of your servers and deployments.Without breaking a sweat.
Sign up for a 5-day free trial of Cleavr Pro. No credit card required until you decide to subscribe.
Sign up for freeCleavr
© 2025 Vistafari LLC. All rights reserved.
❤️ ☕️ 🎨
