10 September 2022
blog
Trapping emails with MailHog for staging sites on Ubuntu server
In this blog, we'll show you how to trap emails with MailHog for staging sites on Ubuntu server.
First SSH into the server and install Go using sudo apt-get -y install golang-go. Now rungo install github.com/mailhog/MailHog@latest to install MailHog.
To make MailHog globally accessible so that you can access it from anywhere on your system run the following command:
ln -s ~/go/bin/MailHog /usr/bin/mailhog
You can start MailHog by running mailhog in the command line. Or you can run MailHog by running the command /path/to/MailHog
The MailHog service should be up and running by now. But it goes down as soon as the terminal is closed or the SSH connection is terminated. If our use case is to run the MailHog service on a remote server this may not be the desired behavior.
We need to create a site that exposes the port 8025 so that we can access the panel and run MailHog in a way that we don’t have to worry about re-starting the service time and again. To accomplish the latter objective, we need to have a tool called Process Monitor (Supervisor). A process monitor watches processes that are running on the server and assists in keeping the services alive.
Let’s start with exposing the port 8025. You need to have a web server setup. We’ll not be discussing about setting up a web server here since that’ll be out of scope of this
article. I’ve set up NGINX on my ubuntu server.
If you’ve NGINX as well you can run the following command:
cat > /etc/nginx/sites-available/{{ domainName }} << ‘EOF’
include /etc/nginx/cleavr-conf//{{ domainName }}/header/*.conf;
map $http_upgrade $connection_upgrade {
default upgrade;
}

server {

server_name /{{ domainName }};
root /home/cleavr//{{ domainName }}/current;
charset utf-8;
include cleavr-conf//{{ domainName }}/*.conf;

# Uncomment the following line only if you don't want to enable NGINX monitoring for this site
# access_log off;
# Uncomment the following line if you don't have a favicon and don't want to log 404 errors
# location = /favicon.ico { access_log off; log_not_found off; }

# Comment the following line if you do have a physical robots.txt file
location = /robots.txt  { access_log off; log_not_found off; }

error_log /var/log/nginx/error.log error;
access_log /var/log/nginx/{{ domainName }}-access.log;
access_log /var/log/nginx/access.log;

location ^~ /.well-known/acme-challenge/ {
allow all;
}


client_max_body_size 0;
client_header_buffer_size 50M;
proxy_read_timeout     1200;
proxy_connect_timeout  240;

location / {
include cleavr-conf/{{ domainName }}/*.conf.pre;
proxy_pass              http://localhost:8025/;
proxy_pass_header Server;
proxy_set_header Host $host;
proxy_set_header X-Real-IP $remote_addr;
proxy_set_header X-Forwarded-For $proxy_add_x_forwarded_for;
proxy_pass_header Server;
include cleavr-conf/{{ domainName }}/*.conf.post;
}

location ~ /\.ht {
deny all;
}

location ~ /\. {
deny all;
}
}
EOF
This will create our site’s configurations inside /etc/nginx/sites-available/{{ domainName }}. Replace {{ domainName }} with your domain name in which you want to expose
the MailHog port. Also update the port number 8025 if your service is running in a different port. Now run the following command to create a symlink to enable the site:
ln -s /etc/nginx/sites-available/{{ domainName }} /etc/nginx/sites-enabled/{{ domainName }}
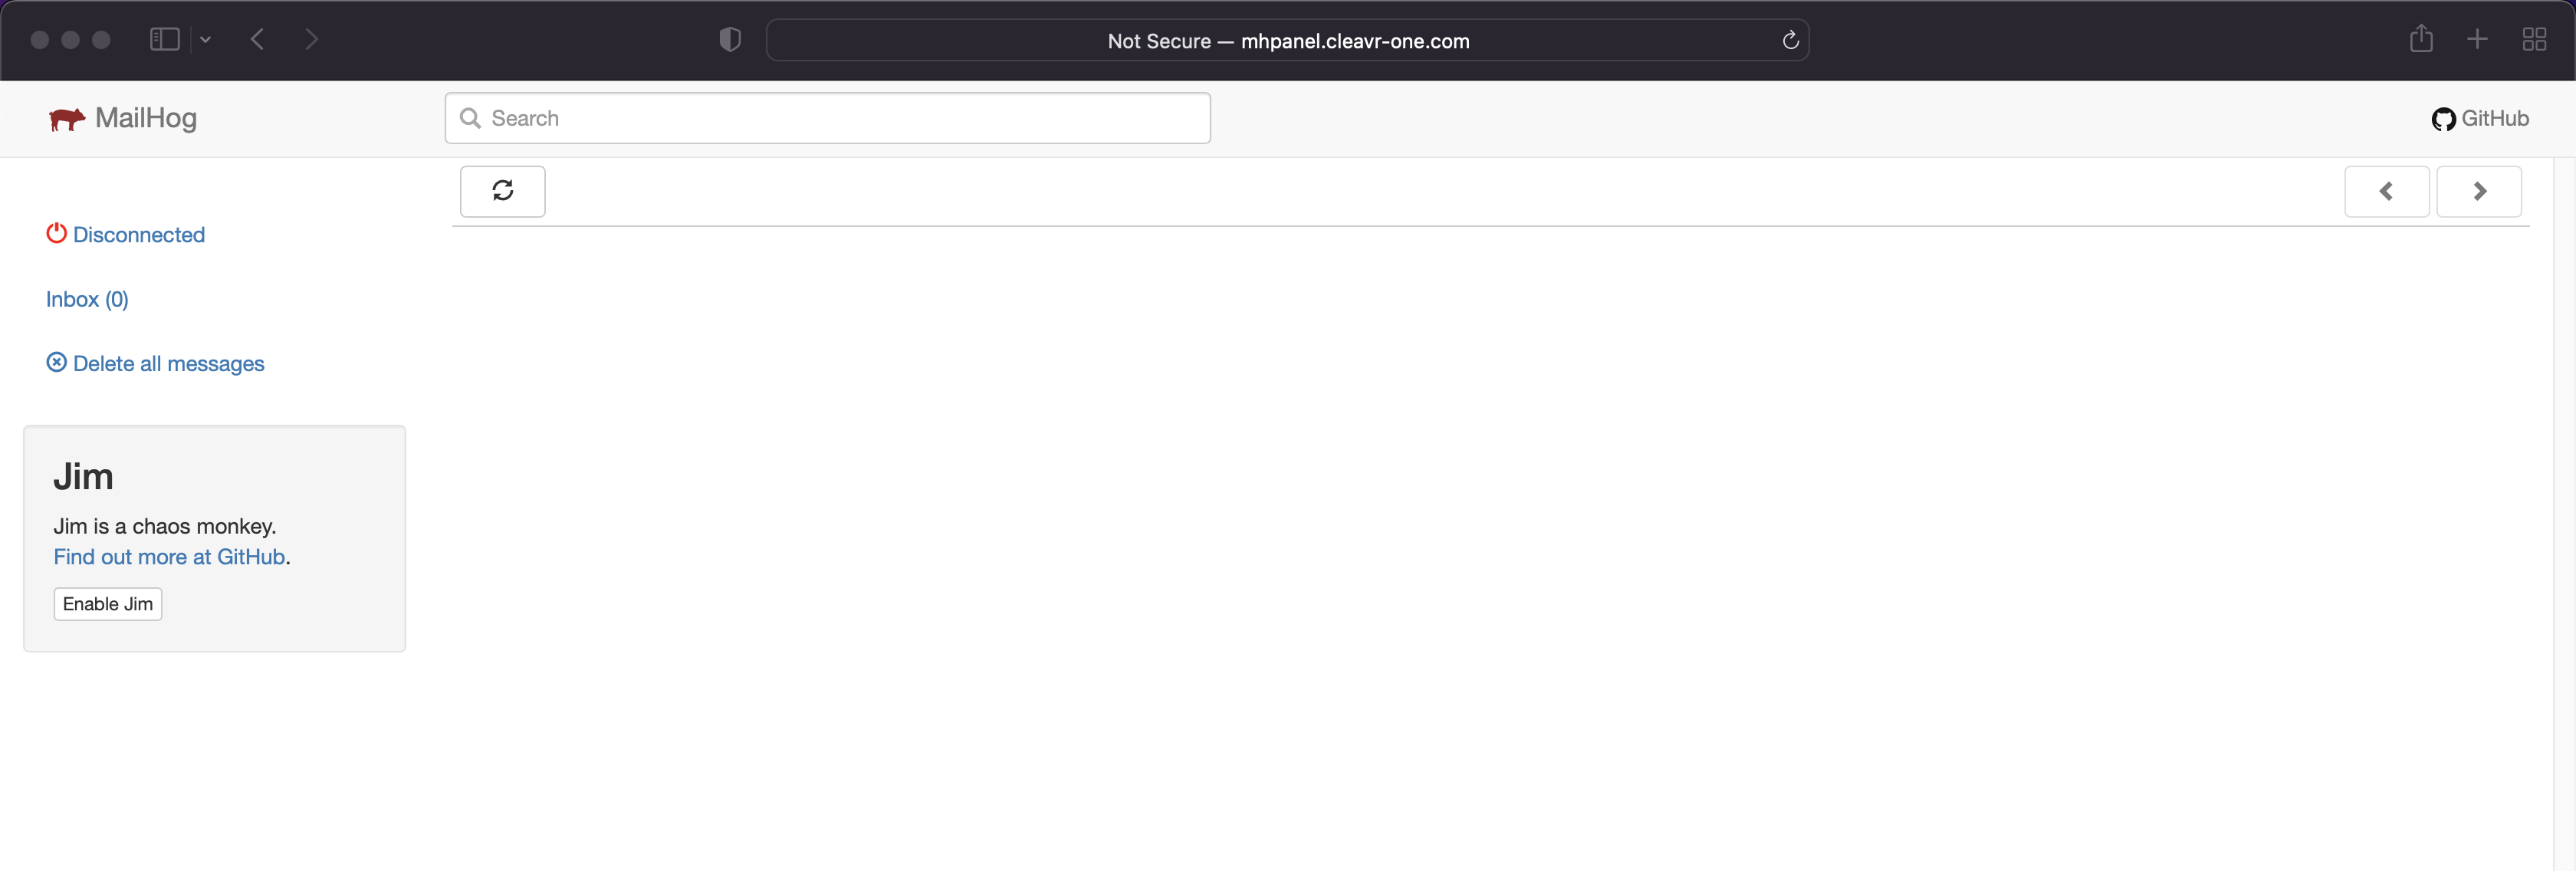
Now if you run the mailhog command on the console and open the site that we just configured we can see the MailHog panel live.

Wait! One last thing is still remaining. We need to set up Process Monitor so that MailHog runs persistently. You can set up Supervisor by following this link.
Run the following command to add a new process monitor that takes care of starting the MailHog service.
cat > '/etc/supervisor/conf.d/run-mailhog.conf' << 'EOF'
[program:run-mailhog]
command=/fullPath/to/MailHog

startsecs=0
autostart=true
autorestart=true

startretries=3

stderr_logfile=/var/log/run-mailhog_supervisor.err.log
stdout_logfile=/var/log/run-mailhog_supervisor.out.log
user=root
EOF
You need to provide full path to MailHog as a command. Which is /usr/bin/mailhog, /root/go/bin/MailHog, or you can check the path by running which mailhog command.
You need to have root access to run this process so make sure to provide user as root.
Take control of your servers and deployments.Without breaking a sweat.
Sign up for a 5-day free trial of Cleavr Pro. No credit card required until you decide to subscribe.
Sign up for freeCleavr
© 2025 Vistafari LLC. All rights reserved.
❤️ ☕️ 🎨
