18 December 2021
provision
custom
How to deploy a FREE Oracle Cloud VPS server
Are you looking for a free test server to host some smaller projects on or to use as a playground environment?
There aren't too many free VPS options out there unfortunately... And, often, if they are free, they may not even be worth the effort to set up.
Oracle provides a pretty decent cloud VPS server that I've been using as a test server for a couple of months now. I recommend you give it a try!
This guide walks you through how to set up an Oracle Cloud free server in their GUI and then how to connect to it with Cleavr as a 'Custom Server'.
UPDATED 10th April - 2022
Free Oracle Cloud VPS is now supported out of the box in Cleavr.
You can create an Oracle Cloud Account as explained in Step 1. Now create a VPS profile in Cleavr and you're all ready to provision a new free Oracle Server. To connect you Oracle Cloud account to Cleavr you may refer to our documentation
Step 1: Create an Oracle Cloud account
Head over to Oracle Cloud and create a new account.
Expect to have to provide a Credit Card in order to create an account. As long as you stick to the free options they provide, you shouldn't need to worry about your card getting charged. They do a good job at tagging which resources are free eligible.
One more thing to mention, expect to get contacted via email and phone by an Oracle rep. Believe me, they'll do their best to try to get in contact with you...
Step 2: Add a new VPS instance
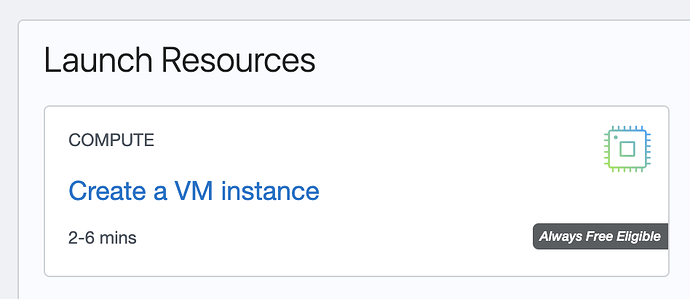
Once signed up, on the getting started page, launch a new VM instance.
On the Image and shape card, click edit. You'll need to select the Canonical Ubuntu: 20.04 instance.


Add your SSH key (you'll need to SSH into the new server in the next steps).
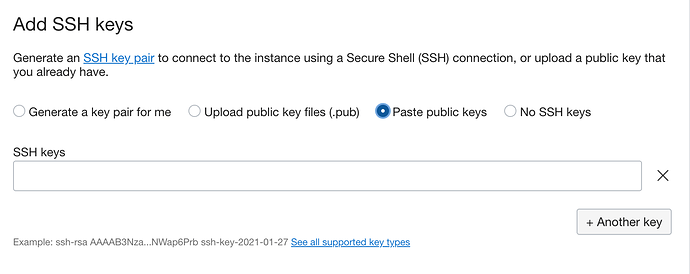
Finally, click on Create. This will provision the server on Oracle's side.
Step 3: Connect Cleavr to the server
Once the Oracle server has an assigned Public IP Address, copy the IP to the clipboard and header over to Cleavr.
On the dashboard, click the Create button and select server.
For VPS Profile, select Custom Server.
Give the server a name and paste the IP Address into the corresponding field.
Copy the command to run as root on the server and open up your terminal and SSH into the server.
ssh ubunutu@<public ip>
The default server user with Oracle Cloud is ubuntu. You cannot access as root at this point. Once you connect to the server, you can switch to root using the following command.
sudo su root
Now, paste in the command and run it.
Back in Cleavr, provision the server.
Cleavr will add further dependencies to the server and get it all ready to host your apps.
Step 4 - open port 80 and 443
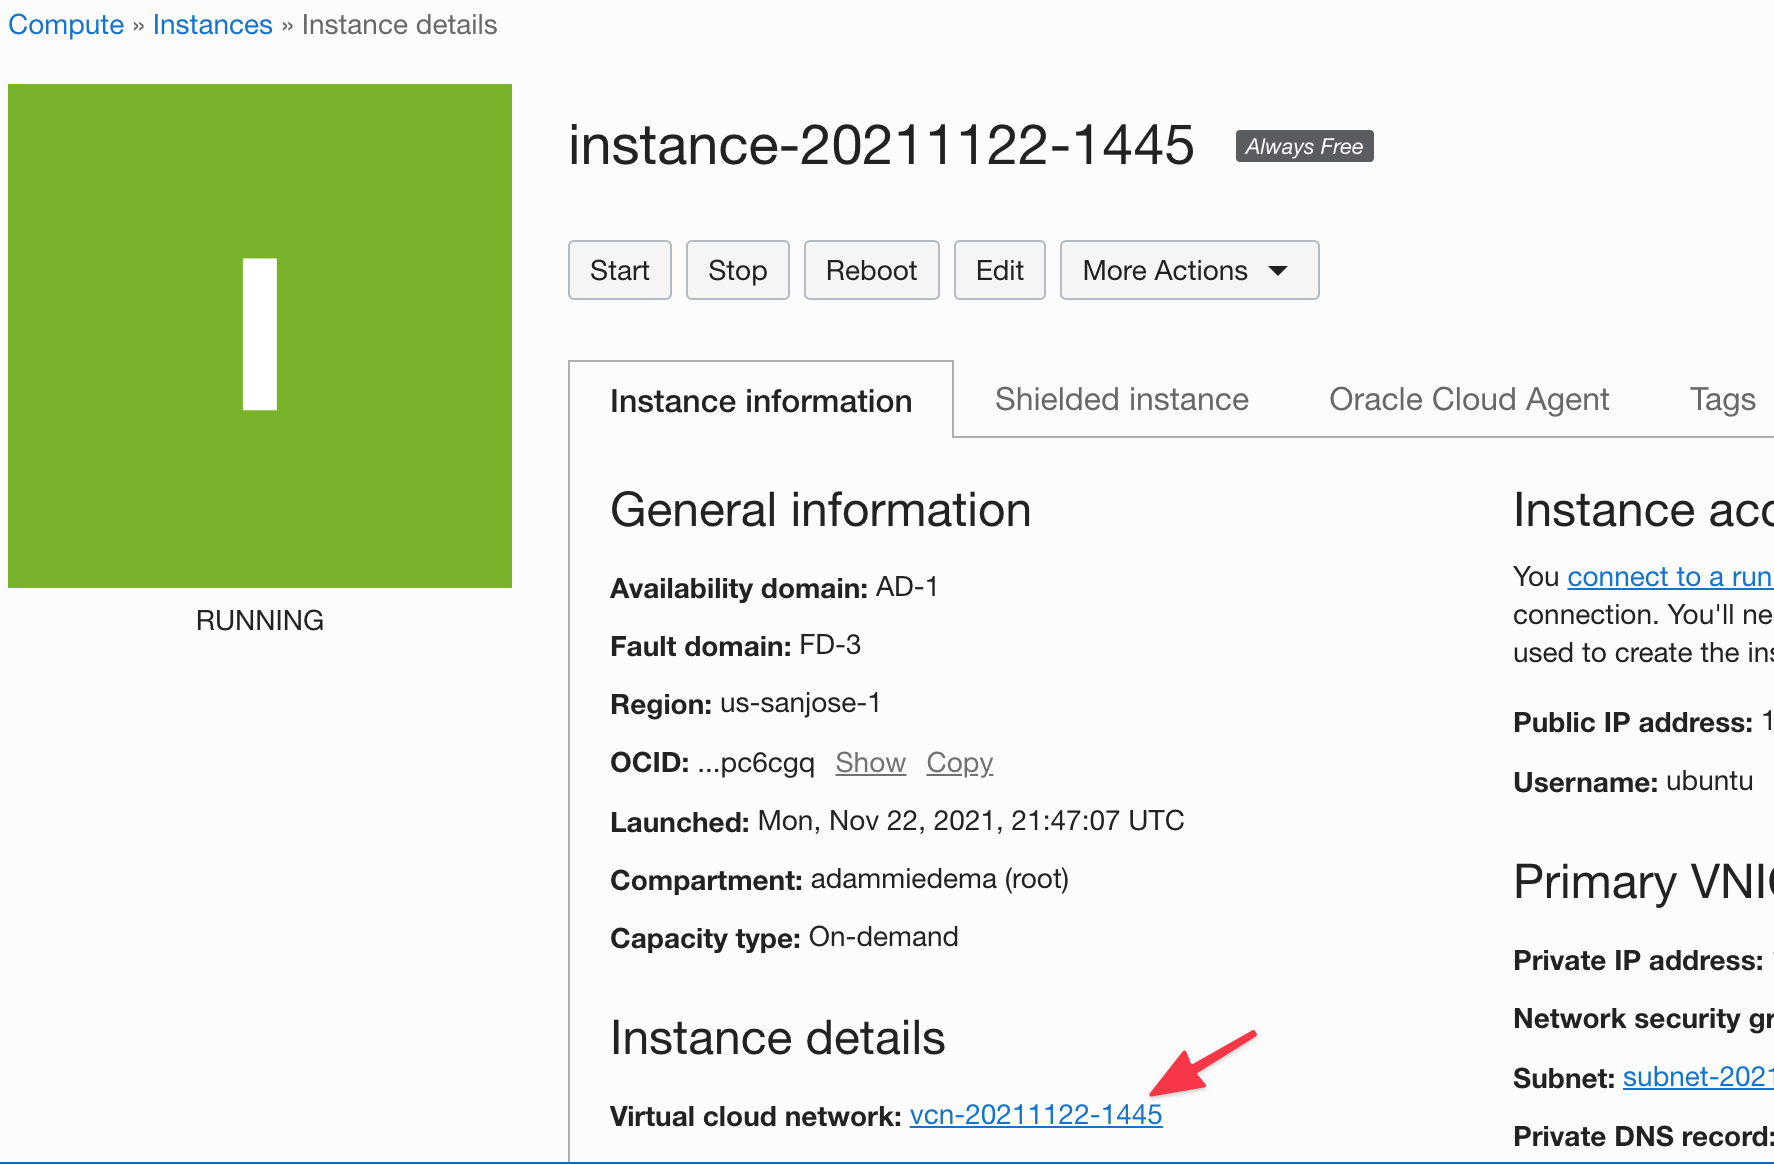
Port 80 and 443 will be closed by default. Assuming you plan to add websites to the server, open port 80 and 443 by clicking on Virtual Cloud Network from the server instance details screen.
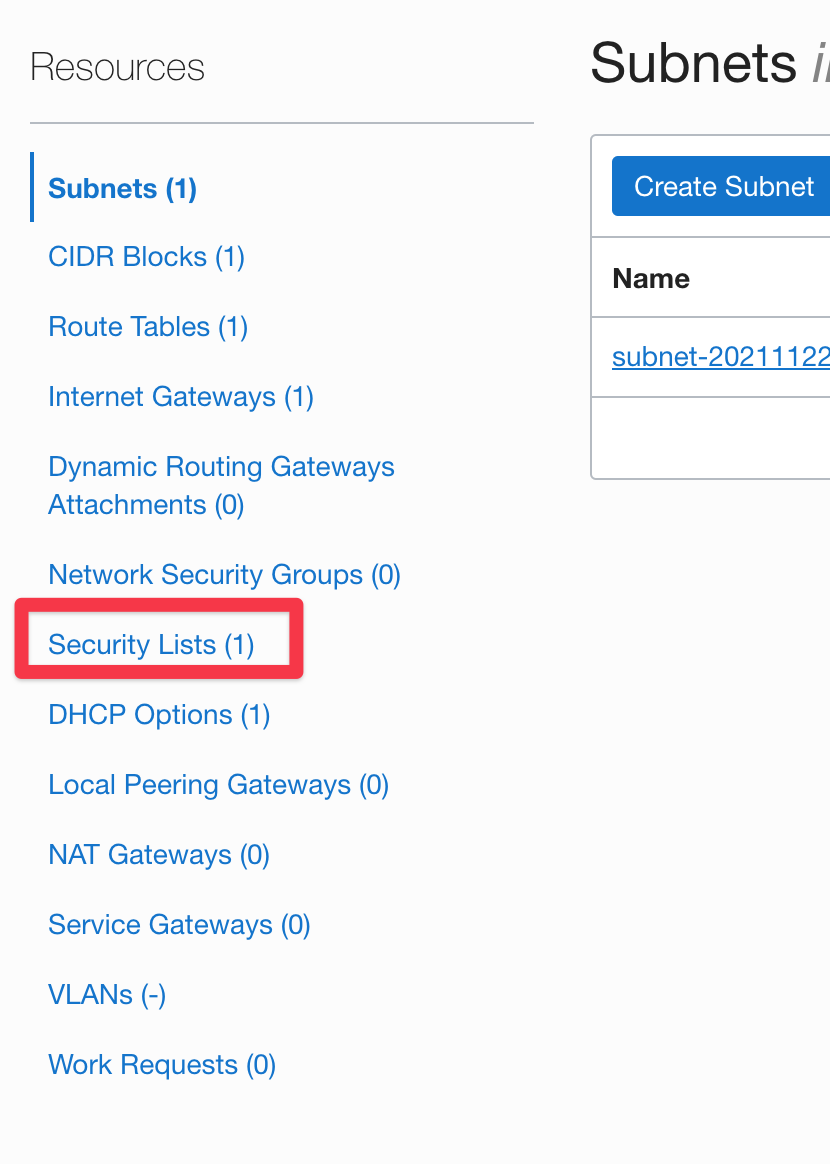
Click Security List on the left menu.
Click on the security list

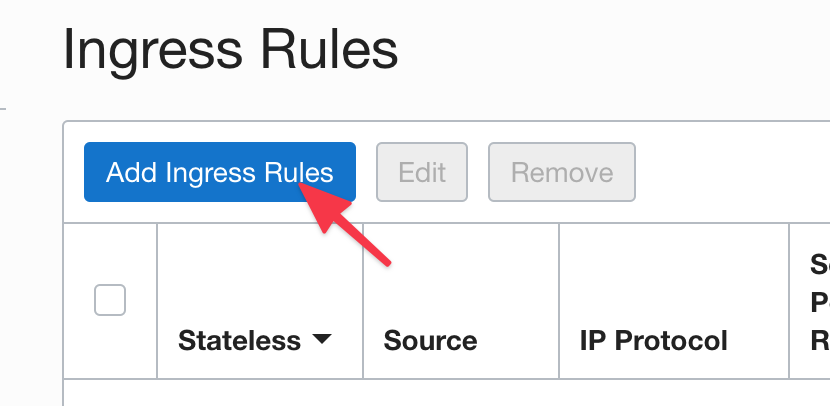
Click Add Ingress Rules
Add the following source and port -
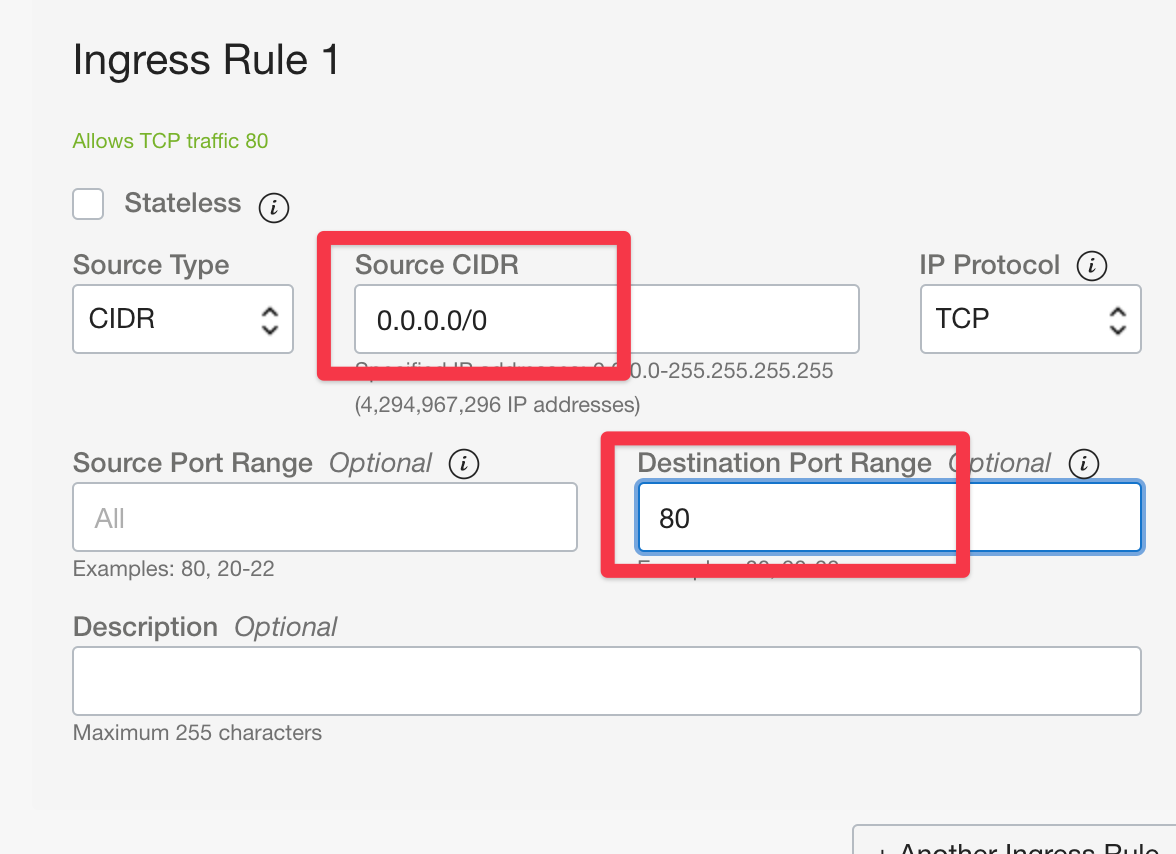
Add the ingress rule for port 80. Do the same process for port 443.
Step 5: Update Oracle iptables
We've seen some odd behavior that blocks port 80 and 443 connections, even when enabling it via the Oracle UI and in UFW.
Thanks to our community members, we've found running the following commands have solved the port issues in most cases.
On the server terminal via SSH, run the following commands one-by-one:
sudo iptables -I INPUT 6 -m state --state NEW -p tcp --dport 443 -j ACCEPT
sudo iptables -I INPUT 6 -m state --state NEW -p tcp --dport 80 -j ACCEPT
sudo netfilter-persistent save
Step 6: Add sites and deploy
You're now all setup to use Cleavr to manage your free Oracle Cloud server and start adding sites and deploying web apps!
Take control of your servers and deployments.Without breaking a sweat.
Sign up for a 5-day free trial of Cleavr Pro. No credit card required until you decide to subscribe.
Sign up for freeCleavr
© 2025 Vistafari LLC. All rights reserved.
❤️ ☕️ 🎨
